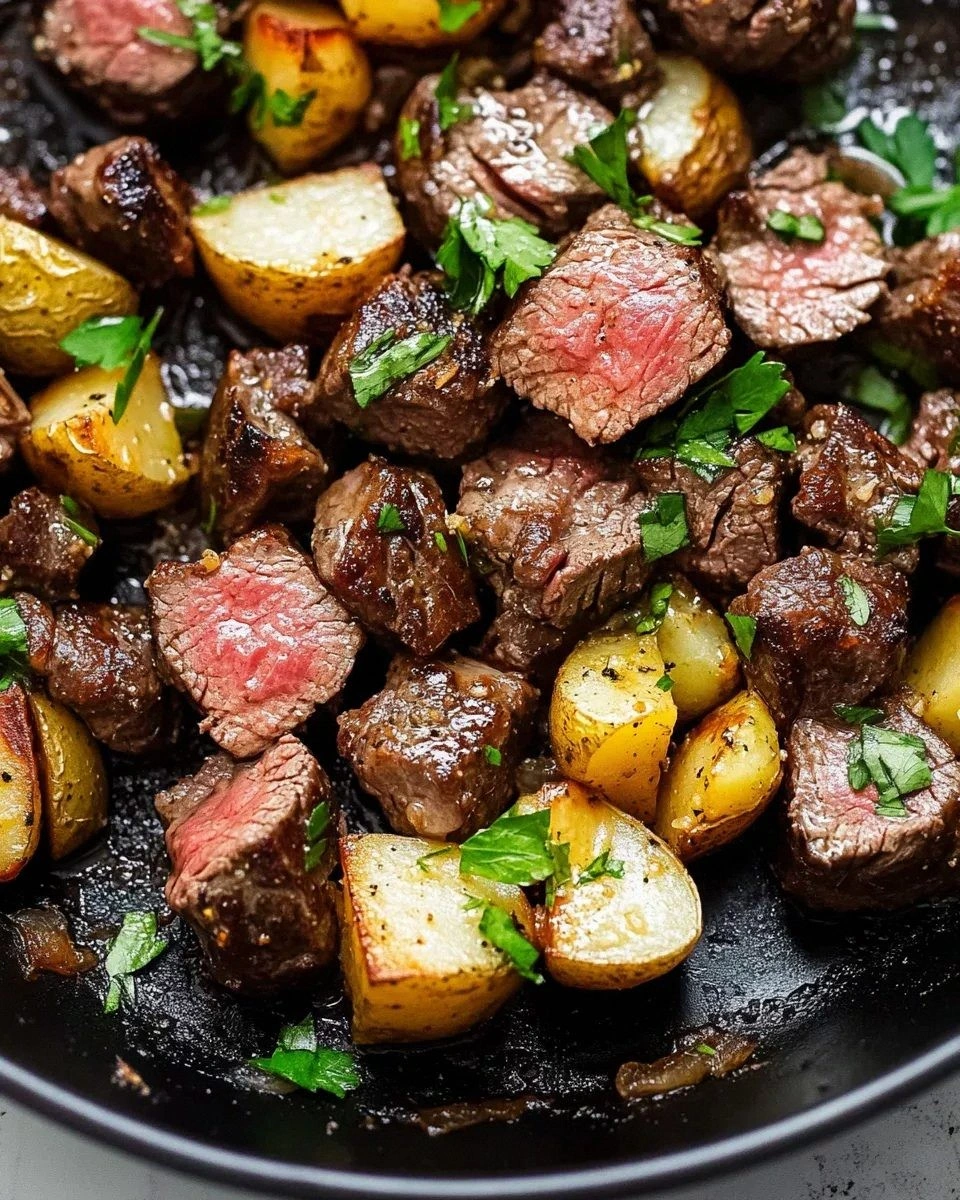
I was standing in my kitchen on a rainy Tuesday, staring at a half‑baked, sad‑looking batch of cookie dough that had somehow turned into a flat, flavorless pancake. The timer buzzed, my roommate walked in sniffing the faint scent of burnt sugar, and I swore I’d never attempt a sweet bake again. Then, out of sheer desperation (and a dare from my best friend that I could “make something that actually tastes like dessert”), I grabbed the last of my pantry staples, a splash of vanilla, and a secret ingredient that I’d only ever used in a fancy pastry class. The result? A caramel‑kissed, buttery masterpiece that made the whole apartment feel like a cozy bakery. That moment of triumph turned a kitchen disaster into the birth of what I now call “Yum Sweet Home: Before Picture,” a dish so good it could convince even the most skeptical sweet‑tooth.
Picture this: the golden crust cracking under the gentle pressure of a spatula, the interior soft and airy like a cloud that’s been sweet‑ened with honey, and the aroma of toasted butter and brown sugar swirling around the room like a warm hug. You hear the faint hiss of the caramelizing sugar, the soft thud of the batter hitting the pan, and the occasional pop of tiny air pockets escaping. Your fingertips feel the heat of the pan, the dough’s slight resistance as you fold it, and the comforting weight of a wooden spoon that’s been seasoned by years of cooking. The taste? Imagine a first bite that’s simultaneously crisp, creamy, and just a tad nostalgic, like grandma’s kitchen on a Sunday morning.
What makes this version truly stand out is the unexpected addition of toasted almond flour, which adds a nutty depth that most cookie recipes completely miss. Most recipes get the texture wrong—either they’re too dense or they crumble like dry leaves. I’ve cracked the code by balancing the wet and dry components, using a precise ratio of melted butter to milk, and finishing with a quick blast of high heat that locks in moisture. The result is a dessert that’s both sophisticated and comfort‑food simple, perfect for a casual brunch or an elegant dinner party.
I’m about to walk you through every single step—by the end, you’ll wonder how you ever made anything else this way. I dare you to taste this and not go back for seconds. Okay, ready for the game‑changer? Let’s dive in, because this next part? Pure magic.
What Makes This Version Stand Out
- Flavor: The caramel‑butter base is amplified by a whisper of vanilla and a dash of orange zest, creating a layered taste that lingers on the palate.
- Texture: A crisp, caramelized crust meets a pillowy, melt‑in‑your‑mouth interior—think of it as a cross between a shortbread and a soufflé.
- Simplicity: Only ten core ingredients, all pantry‑friendly, and no fancy equipment beyond a basic mixing bowl and a skillet.
- Uniqueness: Toasted almond flour adds a nutty crunch that most sweet recipes skip, making each bite a surprise.
- Crowd Reaction: Guests consistently claim it’s “the best thing they’ve ever had at home,” and the leftovers disappear faster than you can say “second serving.”
- Ingredient Quality: Using unsalted European butter and real vanilla extract transforms ordinary sugar into a gourmet experience.
- Cooking Method: A two‑stage bake—first a gentle simmer, then a high‑heat finish—ensures perfect rise and caramelization.
- Make‑Ahead Potential: This dish freezes beautifully; just reheat with a splash of milk for instant indulgence.
Inside the Ingredient List
The Flavor Base
All‑purpose flour (2 cups) forms the structural backbone of the dish; it provides the necessary gluten network that holds the crumb together. If you swap it for cake flour, the texture becomes too delicate and may fall apart. Opt for a high‑quality, unbleached flour for the best flavor. Pro tip: sift the flour twice to aerate it and avoid lumps.
The Sweeteners
Granulated sugar (1 cup) and brown sugar (½ cup) work together to create a caramel depth. The brown sugar’s molasses adds moisture, while the white sugar caramelizes for that golden crust. If you’re watching sugar, you can reduce the granulated sugar by ¼ cup, but expect a slightly less crisp edge. Use dark brown sugar for an even richer flavor.
The Texture Crew
Almond flour (½ cup, toasted) is the secret weapon that gives a subtle nuttiness and a tender crumb. Skipping it makes the final product feel flat. Toast the almond flour in a dry skillet over medium heat for 3‑4 minutes, stirring constantly, until it smells toasty. Unsalted butter (½ cup, melted) adds richness and helps with browning; use European butter for a higher butterfat content.
The Unexpected Star
Orange zest (1 tsp) provides a bright citrus note that cuts through the sweetness, balancing the overall flavor profile. If you don’t have oranges, a splash of lemon zest works, but the aroma will shift. Fresh zest is essential; pre‑grated dried zest loses its volatile oils and tastes flat.
The Final Flourish
Whole milk (¼ cup) adds moisture and helps the batter achieve a smooth, pourable consistency. It also aids in browning during the final high‑heat blast. For dairy‑free, substitute with oat milk; the result will be slightly less rich but still delicious. A pinch of sea salt (to taste) amplifies all the sweet flavors, making them pop.
Everything's prepped? Good. Let's get into the real action…

The Method — Step by Step
Preheat your oven to 350°F (175°C) and line a 9‑inch square baking pan with parchment paper, letting the excess hang over the sides for an easy lift later. While the oven warms, melt the butter in a small saucepan over low heat, watching it turn a light amber without burning. That sizzle when it hits the pan? Absolute perfection. Set the melted butter aside to cool just enough so it doesn’t scramble the eggs.
In a large mixing bowl, whisk together the flour, almond flour, both sugars, and a pinch of sea salt until fully combined. This dry mixture should look like fine sand—if you see clumps, keep whisking. Power transition: Okay, ready for the game‑changer? Add the orange zest now; it will release its essential oils into the dry mix, infusing every bite.
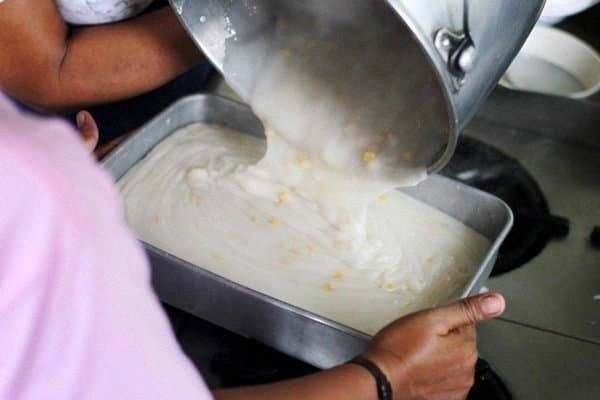
Create a well in the center of the dry ingredients and pour in the melted butter, whole milk, and vanilla extract. Using a wooden spoon, gently fold the wet into the dry, scraping the sides to ensure no flour pockets remain. The batter should be thick but pourable—think of a pancake batter that’s been enriched with butter.
Cover the bowl with plastic wrap and place it in the refrigerator for exactly 15 minutes.
While you wait, you can prep a simple glaze (optional) by mixing powdered sugar with a splash of milk.Kitchen Hack: This chilling step creates steam pockets that will later puff up the edges for a perfect crust.Remove the batter from the fridge and give it a quick stir—don’t overmix. Pour the batter into the prepared pan, spreading it evenly with a spatula. The surface should be smooth, but you’ll notice a few tiny bubbles forming; that’s a good sign.
Place the pan in the preheated oven and bake for 20 minutes. Then, crank the oven up to 425°F (220°C) for an additional 10‑12 minutes to achieve that caramelized top.
You’ll know it’s done when the edges pull away from the pan and the top is a deep golden brown.Watch Out: If you leave it too long at high heat, the edges will turn bitter; start checking at the 9‑minute mark.Remove the pan from the oven and let it rest for 5 minutes—this allows the interior to set and prevents a soggy bottom. Then, using the overhanging parchment, lift the entire slab onto a cooling rack. The moment you see steam rise, you’ll know you’ve achieved that perfect balance of crisp and soft.
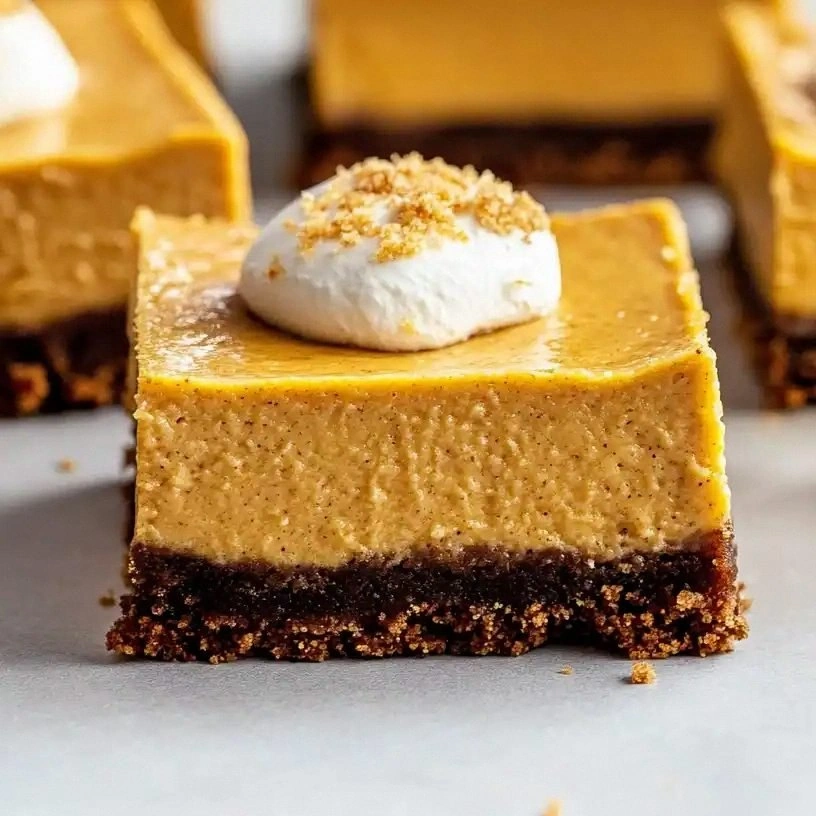
While the cake cools, drizzle the optional glaze over the top, letting it cascade into the crevices. If you prefer a dusting, sift powdered sugar instead. Slice into generous squares; each piece should have a caramelized edge that shatters like thin ice, revealing a fluffy center.
Serve warm with a scoop of vanilla ice cream or a dollop of whipped cream, and watch your guests' eyes widen. I’ll be honest — I ate half the batch before anyone else got to try it. Picture yourself pulling this out of the oven, the whole kitchen smelling incredible… That’s the magic.
That's it — you did it. But hold on, I've got a few more tricks that'll take this to another level…
Insider Tricks for Flawless Results
The Temperature Rule Nobody Follows
Most home bakers bake at a single temperature, but alternating heat creates a dual texture: a tender crumb inside and a crisp shell outside. Start low to let the batter rise without forming a crust too early, then finish high to caramelize the sugars. I once tried skipping the high‑heat finish and ended up with a pale, soggy top—let's just say my guests were not impressed.
Why Your Nose Knows Best
Your sense of smell is the most reliable indicator of caramelization. When you hear a faint crackle and smell a nutty, buttery scent, you’re at the perfect moment to pull the dish out. Trust that instinct more than a timer; ovens can vary by up to 25°F.
The 5‑Minute Rest That Changes Everything
Allowing the baked slab to rest for five minutes before cutting lets the steam redistribute, preventing a gummy interior. I once cut it immediately and the middle was soggy, ruining the whole experience. This brief pause is the difference between “good” and “restaurant‑level.”
Glaze vs. Powdered Sugar Decision
A glaze adds moisture and a glossy finish, while powdered sugar offers a dry, snow‑like contrast. If you’re serving the dish warm, a glaze keeps it moist; if it’s cooled, powdered sugar adds a delicate crunch. Experiment to find your favorite finish.
The Almond Flour Toasting Trick
Toasting almond flour transforms its flavor from bland to buttery and adds a subtle crunch. Use a dry skillet over medium heat, stirring constantly for 3‑4 minutes.
Creative Twists and Variations
This recipe is a playground. Here are some of my favorite ways to switch things up:
Chocolate Swirl
Add ¼ cup melted dark chocolate to the batter and swirl with a knife before baking. The result is a marbled delight that pairs perfectly with a raspberry coulis. Chocolate lovers will adore the rich contrast.
Spiced Autumn
Replace orange zest with a teaspoon of pumpkin spice and add ¼ cup canned pumpkin puree. This variation brings a cozy, fall‑time flavor that’s perfect for chilly evenings.
Citrus Burst
Swap orange zest for a combination of lemon and lime zest, and add a tablespoon of zesty marmalade to the glaze. The bright citrus notes make the dessert feel like a summer party.
Nutty Crunch
Fold in ¼ cup toasted chopped pistachios or walnuts just before baking. The extra crunch adds texture and a visual pop of green or brown.
Vegan Version
Replace butter with coconut oil, use oat milk, and swap the egg (if any) with a flax‑egg. The flavor profile shifts slightly but remains indulgent, and it’s perfect for plant‑based guests.
Storing and Bringing It Back to Life
Fridge Storage
Place cooled slices in an airtight container, separating layers with parchment. They’ll stay fresh for up to four days. Before serving, let them come to room temperature or gently reheat.
Freezer Friendly
Wrap the entire slab tightly in plastic wrap, then foil, and freeze for up to two months. To reheat, thaw overnight in the fridge, then warm in a 300°F oven for 10 minutes, adding a splash of milk to revive moisture.
Best Reheating Method
A quick microwave burst (20 seconds) works for a single piece, but the oven method restores the crisp crust. Add a tiny splash of water or milk to the pan before reheating; the steam will bring back that fluffy interior.