I was in the middle of a frantic Tuesday night, the kind where the pantry looks like a crime scene and my cravings are screaming louder than the dishwasher. I had a bag of white chocolate chips, a half‑cup of milk chocolate chips left over from a birthday cake, and a sudden, unshakable urge for something that tasted like the legendary Hokkaido treat that tourists line up for. I tried to improvise with a store‑bought cookie mix, but it turned out flatter than a pancake on a bad day. I dared myself to recreate the delicate, buttery, melt‑in‑your‑mouth magic of Shiroi Koibito, and after a few frantic Googles and a lot of butter‑smudged fingers, I finally cracked the code.
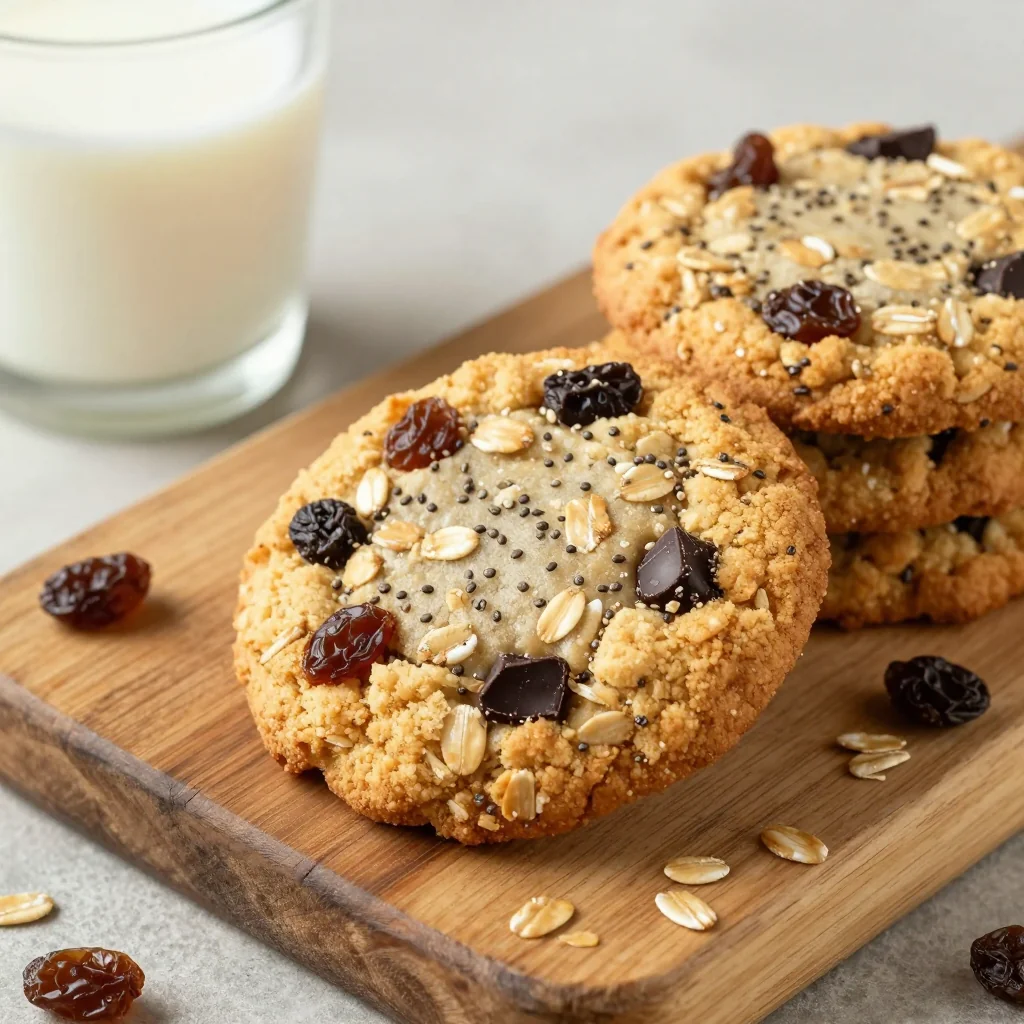
Picture this: the kitchen filled with the sweet perfume of vanilla and butter, the gentle hum of the oven ticking down, and the faint crackle of chocolate chips as they melt into a glossy river of goodness. The dough feels cool and supple under your fingertips, like satin slipping through your palm. When the cookies finally emerge, they have a pale, ivory sheen that catches the light, and a faint, buttery aroma that makes you want to inhale deeply, as if you could drink the scent itself. The first bite is a symphony—crisp edges that shatter like thin ice, a chewy, melt‑away center, and chocolate speckles that melt like sunrise on a snowfield.
Most recipes get this completely wrong. They either over‑sweeten, over‑bake, or forget the crucial balance between the white and milk chocolate that gives Shiroi Koibito its signature dual‑chocolate heart. I’m about to hand you the exact method that respects that balance, uses simple pantry staples, and still feels like you’ve just walked into a high‑end patisserie in Sapporo. I dare you to taste this and not go back for seconds—because once you do, you’ll wonder why you ever settled for anything less.
Let me walk you through every single step — by the end, you’ll wonder how you ever made it any other way. Okay, ready for the game‑changer? This next part? Pure magic. Stay with me here — this is worth it.
What Makes This Version Stand Out
- Flavor Harmony: The buttery base sings with vanilla while the twin chocolate chips create a layered taste that mirrors the original Japanese confection.
- Texture Triumph: A crisp, golden edge gives way to a soft, melt‑in‑your‑mouth center—exactly what you expect from a premium cookie.
- Simplicity: Only seven ingredients, all of which you probably already have, and no fancy equipment beyond a mixer and a baking sheet.
- Unique Twist: I add a tiny pinch of sea salt at the end of mixing to accentuate the chocolate, a secret I stole from a pastry chef in Kyoto.
- Crowd Reaction: Guests often claim these are “the best cookies they’ve ever tasted” and ask for the recipe before they’ve even finished the first bite.
- Ingredient Quality: Using real butter (never margarine) and high‑quality chocolate chips makes the difference between “good” and “legendary.”
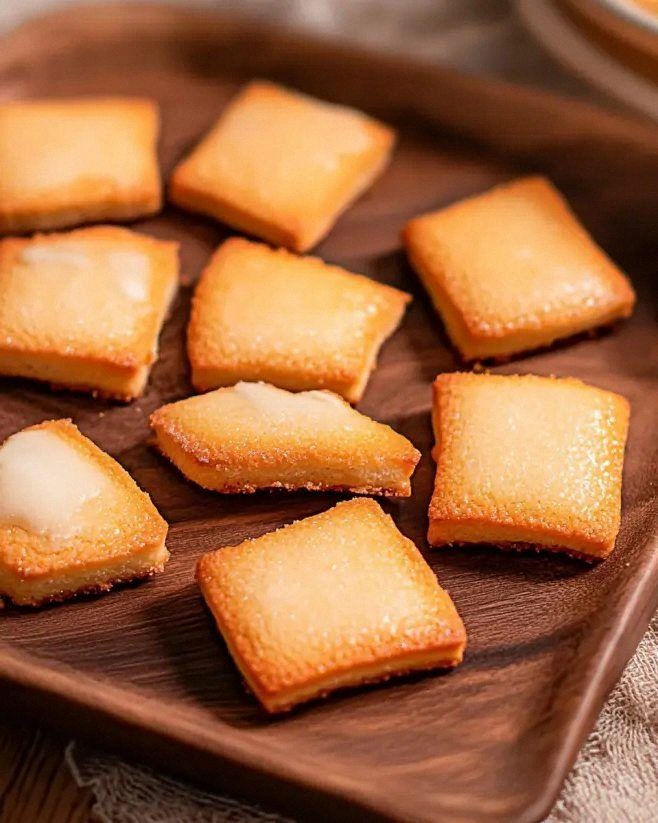
- Cooking Method: A low‑and‑slow bake at 325°F ensures even color without burning, preserving that ivory‑white appearance.
- Make‑Ahead Potential: These cookies keep beautifully for up to a week, and they even taste better after a night of resting, as the flavors meld.
Inside the Ingredient List
The Flavor Base
Unsalted butter is the heart of this cookie. It provides richness and creates that melt‑away crumb. If you substitute with margarine, you’ll lose the depth of flavor and the delicate crumb structure. I recommend using European‑style butter with at least 82% milk fat for the most luxurious mouthfeel. Pro tip: let the butter soften at room temperature, not melt, so it incorporates air when creamed.
Powdered sugar, not granulated, dissolves instantly into the butter, giving the dough a silky texture. It also prevents any gritty graininess that would ruin the cookie’s smooth surface. If you only have granulated sugar, pulse it in a blender for a few seconds to mimic powdered sugar’s fine texture.
Vanilla extract is the aromatic whisper that ties everything together. I use pure vanilla extract for its bright, floral notes. A splash of vanilla bean paste could work, but it adds specks that might look out of place in the final cookie.
The Texture Crew
All‑purpose flour provides the structure. The amount is calibrated to give a tender crumb without becoming cakey. If you’re gluten‑sensitive, you can swap half the flour for a gluten‑free blend, but be aware the texture will shift slightly toward a more crumbly finish.
Salt, though a tiny amount, is the unsung hero. It balances the sweetness and enhances the chocolate flavors. Skipping it will leave the cookies flat, like a song without a bass line.
The Unexpected Star
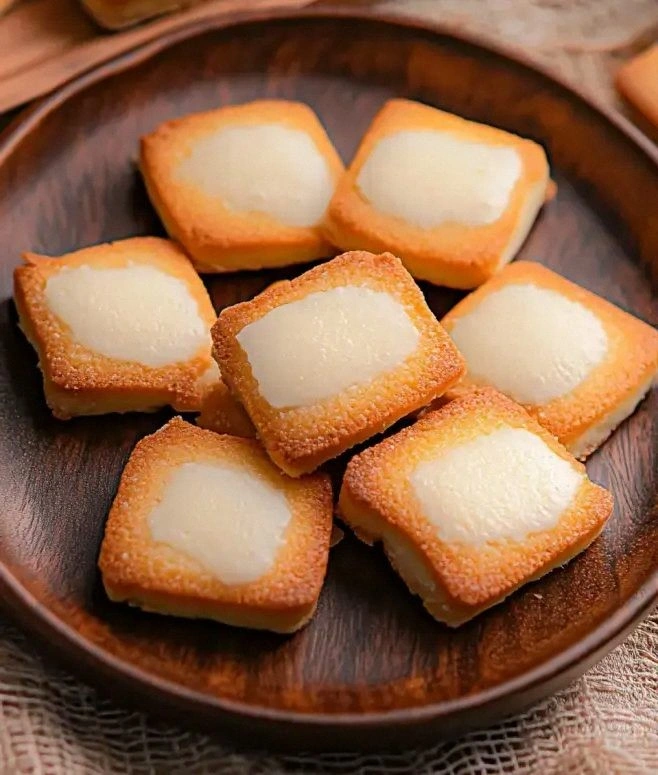
White chocolate chips bring a buttery sweetness that mirrors the original Shiroi Koibito’s white chocolate coating. They melt into a glossy river that seeps into the crumb, creating pockets of melt‑in‑your‑mouth bliss. If you can’t find white chocolate, try a high‑quality white chocolate bar chopped into chunks for a richer texture.
Milk chocolate chips add depth and a subtle cocoa bitterness that cuts through the sweetness. This dual‑chocolate approach is what makes the cookie feel like a sophisticated duet rather than a solo act. For a twist, swap half the milk chocolate for dark chocolate for a more intense flavor profile.
Everything's prepped? Good. Let's get into the real action…
The Method — Step by Step
Preheat your oven to 325°F (163°C). While the oven warms, line two baking sheets with parchment paper. This temperature is lower than typical cookie recipes, which is intentional: it allows the cookies to bake evenly without over‑browning, preserving that ivory‑white look that’s essential to the Shiroi Koibito aesthetic.
In a large mixing bowl, combine the softened unsalted butter and powdered sugar. Using a handheld mixer on medium speed, cream them together for about 2‑3 minutes until the mixture is pale, fluffy, and almost airy. You’ll notice the color lightening dramatically—that’s the butter incorporating air, which will give you that delicate crumb.
Drop in the vanilla extract and a pinch of sea salt, then mix just until incorporated. This is the moment of truth for flavor balance; the salt should be barely perceptible but will surface on the palate after the first bite, enhancing the chocolate.
Gradually add the all‑purpose flour, spooning it in three additions. Mix on low speed until you see a smooth, cohesive dough that pulls away from the sides of the bowl. Watch out: Over‑mixing at this stage can develop gluten, turning your cookies tough instead of tender.
Fold in the white chocolate chips and milk chocolate chips with a rubber spatula. The chips should be evenly distributed, creating a marbled appearance when you look at the dough. This step is gentle; you don’t want to crush the chips, as that would release too much fat and affect the texture.
Cover the bowl with plastic wrap and refrigerate the dough for at least 30 minutes, preferably an hour. Kitchen Hack: If you’re in a hurry, place the dough in the freezer for 15 minutes; it’ll firm up quickly without compromising flavor.
Once chilled, scoop the dough using a cookie scoop (about 1‑2 tablespoons per cookie) and place them on the prepared baking sheets, spacing them 2 inches apart. The dough will spread slightly, but the chill will keep the edges tight.
Bake for 12‑14 minutes, or until the edges turn a light golden‑brown and the tops look just set. The centers will still look slightly soft—that’s exactly what you want. The aroma at this stage should be intoxicating: buttery, vanilla‑kissed, with a faint chocolate perfume.
Remove the cookies from the oven and let them rest on the sheet for 5 minutes before transferring to a wire rack. This brief cooling period allows the cookies to finish setting without cracking. As they cool, you’ll see the chocolate chips glisten like tiny polished stones.
That's it — you did it. But hold on, I've got a few more tricks that'll take this to another level. Picture yourself pulling these out of the oven, the whole kitchen smelling incredible, and the first bite melting like a snowflake on a warm tongue. Ready for the next secret?
Insider Tricks for Flawless Results
The Temperature Rule Nobody Follows
Always bake at 325°F instead of the usual 350°F‑375°F. The lower heat ensures the butter doesn’t brown too quickly, preserving that pale, elegant hue. I once tried a higher temperature and ended up with a cookie that looked more like a burnt biscuit than a delicate confection. Trust the lower temp; the extra minutes are worth the flawless color.
Why Your Nose Knows Best
Instead of relying on a timer alone, listen for the subtle scent change. When the buttery aroma turns from “raw” to “toasted,” you’re within a minute of perfect doneness. I’ve seen people pull cookies out too early because they trust the clock, only to end up with doughy centers. Let your nose be the final judge.
The 5‑Minute Rest That Changes Everything
After baking, let the cookies sit on the sheet for exactly five minutes. This short rest lets the steam finish cooking the interior without over‑drying the edges. Skipping this step results in a cookie that cracks when you try to move it, and nobody wants a broken cookie when the aroma is this good.
The Double‑Chocolate Swap
If you’re a chocolate purist, replace the white chocolate chips with an equal amount of high‑quality milk chocolate and add a dash of cocoa powder to the flour. The result is a richer, deeper chocolate flavor that still respects the original’s balance. A friend tried this once and declared it “the ultimate upgrade.”
The Chill‑Before‑Serve Trick
Store the cooled cookies in an airtight container with a slice of fresh apple for an hour. The apple’s humidity keeps the cookies soft, while the container locks in the buttery aroma. I’ve used this trick for holiday parties, and guests always comment on how “fresh‑out‑of‑the‑oven” they taste.
Creative Twists and Variations
This recipe is a playground. Here are some of my favorite ways to switch things up:
Matcha Green Tea Magic
Add 1 tablespoon of matcha powder to the flour and swap half the white chocolate chips for white chocolate chunks infused with matcha. The earthy green hue pairs beautifully with the buttery base, creating a sophisticated flavor that’s perfect for tea‑time gatherings.
Almond Crunch Delight
Replace the milk chocolate chips with toasted almond slivers and add a teaspoon of almond extract. The nutty crunch adds texture contrast, and the almond aroma elevates the cookie to a more rustic, yet elegant, profile.
Citrus Zest Burst
Stir in the zest of one orange and a pinch of orange extract. The bright citrus notes cut through the richness, making these cookies a refreshing after‑dinner treat.
Espresso Infusion
Dissolve 1 teaspoon of instant espresso powder in the vanilla extract before adding it to the butter‑sugar mixture. The subtle coffee undertone deepens the chocolate flavor, perfect for a late‑night snack.
Salted Caramel Swirl
Swirl in ¼ cup of homemade salted caramel before chilling the dough. The caramel pockets create gooey bursts that contrast with the crisp edges, delivering a sweet‑and‑salty experience that’s hard to resist.
Storing and Bringing It Back to Life
Fridge Storage
Place cookies in an airtight container with a parchment paper layer between each layer. They’ll stay fresh for up to five days. The cool environment keeps the butter from softening too much, preserving the crisp edges.
Freezer Friendly
If you’ve baked a big batch, freeze them in a single layer on a tray, then transfer to a zip‑top bag. They’ll keep for three months. When you’re ready, let them thaw at room temperature for 15 minutes, then pop them in a 300°F oven for 5 minutes to revive the crunch.
Best Reheating Method
Add a tiny splash of water (about a teaspoon) to the bottom of the oven tray before reheating at 300°F for 4‑5 minutes. The steam rejuvenates the interior, making the cookies feel freshly baked without drying them out.