I remember the night I tried to bake a cheesecake from a recipe that promised “simple” and “no fuss.” I had a stack of chocolate sandwich cookies, a jar of peanut butter, and an ambitious grin. The oven was a blazing furnace, the timer ticked like a metronome, and I was halfway through when the center started to look like a deflated balloon. The result? A soggy, lumpy mess that smelled of burnt sugar and disappointment. That disaster was the catalyst for a quest that would turn a kitchen nightmare into a sweet triumph.
Picture this: the first bite hits your palate, and the creamy, peanut‑butter‑laden filling swirls like a velvety tide. The cookie crust crunches with a satisfying snap, releasing a faint chocolate aroma that lingers long after the plate is cleared. The subtle tang of sour cream cuts through the richness, while the heavy cream adds a silky smoothness that coats your tongue. The vanilla whisper balances the boldness, creating a layered flavor profile that feels both indulgent and surprisingly sophisticated. The texture is a paradox—crisp on the outside, cloud‑like on the inside—making each bite an adventure.
What makes this version stand out is the marriage of classic cheesecake smoothness with the nutty, salty punch of peanut butter, all anchored by a cookie base that delivers crunch without heaviness. The batter is silky because of the cream cheese’s full‑fat content, and the peanut butter infuses a natural sweetness that eliminates the need for extra sugar. The cookie crust isn’t just a base; it’s a flavor conduit that amplifies the chocolate undertone while providing a satisfying contrast to the creamy filling. The method uses a water bath, ensuring the center remains tender and free of cracks, a trick that most recipes overlook. This cheesecake is the result of meticulous balance, where every element supports the other, creating a harmonious whole that is both comforting and daring.
I dare you to taste this and not go back for seconds. This is hands down the best version you'll ever make at home, and if you've ever struggled with a cheesecake that cracks or tastes bland, you're not alone—I've got the fix. The secret? A precise blend of textures, a careful temperature schedule, and a touch of peanut butter that turns a classic into a revelation. Picture yourself pulling this out of the oven, the whole kitchen smelling incredible, and the anticipation of that first slice. Let me walk you through every single step—by the end, you'll wonder how you ever made it any other way.
What Makes This Version Stand Out
- Taste: The peanut butter adds a deep, nutty richness that elevates the classic cheesecake profile. The subtle chocolate from the cookie crust creates a layered flavor that dances on the palate. This combination is a game‑changer for those who crave something more complex than vanilla.
- Texture: The batter’s silky smoothness is achieved through a blend of full‑fat cream cheese and sour cream, preventing dryness. The cookie base offers a satisfying crunch that contrasts the creamy filling. The result is a cheesecake that feels airy yet substantial.
- Simplicity: Despite its sophisticated taste, the recipe requires only nine ingredients, most of which you likely already have in your pantry. No fancy equipment is needed—just a standard oven and a water bath setup. This makes it approachable for novice bakers and seasoned chefs alike.
- Uniqueness: Few cheesecakes incorporate peanut butter as a core flavor, and those that do often miss the balance between sweet and salty. This recipe strikes that perfect equilibrium, making it a standout dessert.
- Crowd Reaction: The first bite often elicits a gasp of delight, followed by a chorus of requests for seconds. Friends and family will remark on the unexpected depth of flavor and the satisfying crunch.
- Ingredient Quality: Using full‑fat cream cheese and real peanut butter ensures depth and authenticity. The chocolate cookies act as a subtle backdrop that doesn’t overpower the filling.
- Cooking Method: The water bath technique keeps the cheesecake from cracking and ensures a tender crumb. This method is a reliable safeguard for anyone who’s had a cracked cheesecake in the past.
- Make‑ahead Potential: The cheesecake can be baked and then refrigerated for up to a week, making it perfect for parties or last‑minute dessert needs.
Inside the Ingredient List
The Flavor Base
Cream cheese is the heart of any cheesecake, and using full‑fat variety gives the filling its luxurious mouthfeel. It also provides a rich, tangy counterbalance to the sweetness of the peanut butter. If you use low‑fat, the cheesecake will become watery and lose that silky texture. For a vegan version, substitute with coconut cream, but expect a different flavor profile.
Sour cream adds a subtle tartness that cuts through the richness, preventing the dessert from feeling heavy. It also helps stabilize the batter, giving the cheesecake a firm yet tender crumb. Skipping sour cream may result in a denser, less airy texture. A small pinch of salt can enhance the overall flavor, making the peanut butter taste brighter.
Heavy cream contributes to the cheesecake’s silky finish, ensuring each bite melts smoothly. It also helps keep the filling from drying out during the baking process. If you don’t have heavy cream, you can use whole milk, but the texture will be slightly less luxurious. The combination of cream cheese, sour cream, and heavy cream creates a balance that is both rich and airy.
The Texture Crew
Eggs are the glue that binds the batter together, giving it structure and preventing collapse. Using room‑temperature eggs ensures they mix smoothly with the dairy, creating a homogeneous batter. If you use cold eggs, whisk them at room temperature for a few minutes before adding them to the mixture.
Peanut butter is the star flavoring agent, adding depth and a natural sweetness that eliminates the need for extra sugar. It also contributes a slight oiliness that keeps the cheesecake moist. Opt for natural peanut butter with minimal additives for the best flavor. If you’re allergic to peanuts, almond butter can be a suitable but distinctly different substitute.
Chocolate sandwich cookies provide a crunchy, chocolatey base that anchors the cheesecake. They also add a subtle caramelized flavor that complements the peanut butter. The cookies should be crushed finely; coarse crumbs can make the crust uneven. For a gluten‑free option, use gluten‑free chocolate cookies or substitute with crushed gluten‑free graham crackers.
The Unexpected Star
Vanilla extract is the quiet hero that ties all flavors together, adding warmth without overpowering. Even a small amount can elevate the entire dessert, creating a subtle aroma that lingers. Use pure vanilla extract for the best results; imitation vanilla can introduce off flavors.
Granulated sugar balances the bitterness of the chocolate cookies and the richness of the peanut butter. It also helps caramelize the crust slightly, adding a pleasing golden hue. If you prefer a lower sugar version, reduce the amount by a quarter, but be prepared for a slightly less sweet finish.
The Final Flourish
Butter melts into the cookie crumbs, binding them together and adding a buttery richness that enhances the crust’s flavor. It also helps the crust set properly, preventing it from becoming too soft or soggy. Be sure to melt the butter before mixing it with the crushed cookies to achieve a uniform crumb.
Water bath is the unsung hero of cheesecake baking, keeping the batter from overheating and cracking. The gentle heat ensures a tender crumb and prevents the edges from drying out. If you forget the water bath, the cheesecake may develop a tough, uneven texture.
Everything's prepped? Good. Let's get into the real action...
The Method — Step by Step
- Start by preheating your oven to 325°F (160°C). While the oven warms, line a 9‑inch springform pan with parchment paper. The parchment ensures easy release and prevents sticking. Place the pan on a baking sheet for easy handling. This step sets the foundation for a smooth, crack‑free cheesecake.
- Crush the chocolate sandwich cookies into fine crumbs using a food processor or a zip‑lock bag and rolling pin. Stir in the melted butter until the mixture resembles wet sand. Press the crumb mixture firmly into the bottom of the prepared pan, creating an even crust. Chill the crust in the refrigerator for 10 minutes while you prepare the filling. This will help the crust firm up and keep the cheesecake stable.
- In a large bowl, beat the cream cheese on medium speed until smooth and creamy, about 2 minutes. Add the granulated sugar and continue to beat until the mixture is light and fluffy, which should take another 3 minutes. The texture should be silky, with no lumps. This aeration is key to a tender crumb.
- Fold in the peanut butter, sour cream, and vanilla extract until fully incorporated. The batter will thicken slightly, but it should remain pourable. Be careful not to overmix, or you risk incorporating too much air, which can cause cracks. A gentle fold keeps the batter smooth and cohesive.
- Whisk the eggs one at a time, ensuring each is fully blended before adding the next. The eggs give the cheesecake structure, so don’t skip this step. After the last egg is added, pour the batter over the chilled crust, smoothing the top with a spatula. The batter should spread evenly across the crust.
- Wrap the springform pan with a double layer of aluminum foil to prevent steam from escaping too quickly. Place the pan on a baking sheet and fill the sheet with boiling water until it reaches halfway up the sides of the pan. This water bath keeps the batter gently heated, preventing the edges from overcooking.
- Bake for 45 minutes, or until the center is set but still slightly wobbly. The edges should be lightly golden, and the top will develop a subtle crust. Keep a close eye on the water level; add more hot water if it evaporates. This careful monitoring is essential for a perfectly tender cheesecake.
- Turn off the oven and leave the cheesecake inside with the door slightly ajar for 1 hour. This gradual cool‑down reduces the risk of cracking by allowing the interior to cool slowly. After an hour, remove the cheesecake from the water bath and let it cool to room temperature on a wire rack.
- Once cooled, refrigerate the cheesecake for at least 4 hours, preferably overnight, to allow the flavors to meld. The cheesecake will firm up, making it easier to slice. When ready to serve, run a knife around the edges before unlocking the springform for a clean release.
That's it — you did it. But hold on, I've got a few more tricks that'll take this to another level, turning a great cheesecake into an unforgettable experience.
Insider Tricks for Flawless Results
The Temperature Rule Nobody Follows
Many bakers bake cheesecakes at 350°F, but the sweet spot is 325°F. This lower temperature keeps the batter from cooking too quickly, which can lead to cracks. The water bath further moderates the heat, ensuring even baking. A consistent temperature also helps the cheesecake set gently, preserving its creamy interior.
Why Your Nose Knows Best
During baking, keep an eye on the aroma. A slight caramel scent indicates the crust is forming nicely. If the smell is too sweet, reduce the sugar or let it bake a bit longer. Your nose is a reliable guide to achieving the perfect balance of flavor.
The 5-Minute Rest That Changes Everything
After turning off the oven, leave the cheesecake inside for 5 minutes before opening the door. This pause allows the heat to dissipate gradually, reducing the risk of cracks. It also helps the center set, giving you a cleaner slice. A quick rest can save you from a ruined dessert.
The Crust Crunch Upgrade
Add a tablespoon of cocoa powder to the cookie crumbs for a deeper chocolate flavor. This also slightly darkens the crust, giving it a richer appearance. If you prefer a sweeter crust, sprinkle a pinch of sea salt on top before baking. The salt enhances the chocolate’s depth.
The Chill Before the Bake
Chilling the crust and batter together for 30 minutes before baking helps them set together, preventing the filling from sliding. It also keeps the batter from overheating when it hits the hot pan. For a smoother finish, refrigerate the assembled cheesecake for a few hours before baking.
Creative Twists and Variations
Chocolate Chip Explosion
Stir in a cup of chocolate chips into the batter before baking. The chips melt into pockets of chocolatey goodness, adding a surprising burst with each bite. This variation is perfect for chocolate lovers and makes the dessert feel indulgent.
Coconut Crunch
Replace half of the peanut butter with shredded coconut and add toasted coconut flakes on top after baking. The coconut adds a tropical twist, giving the cheesecake a nutty, chewy texture. It pairs beautifully with the chocolate crust.
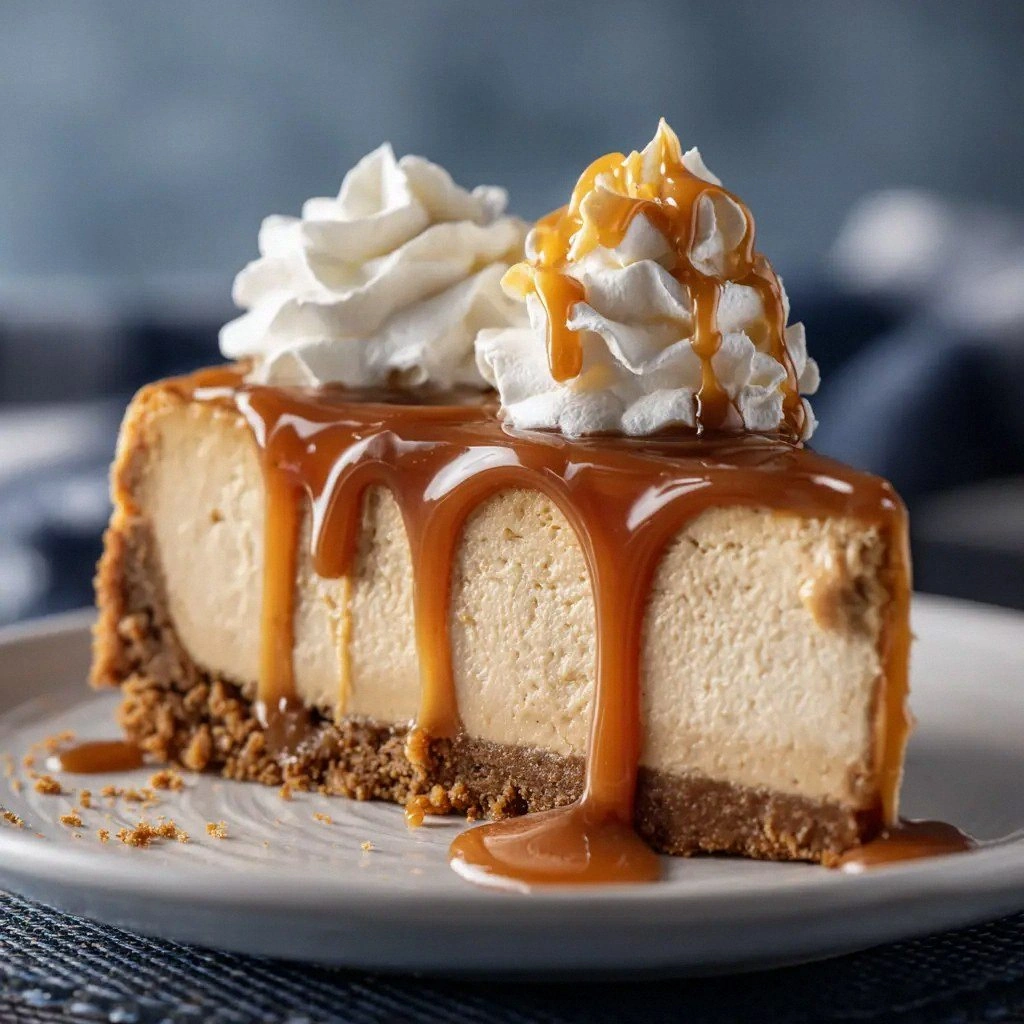
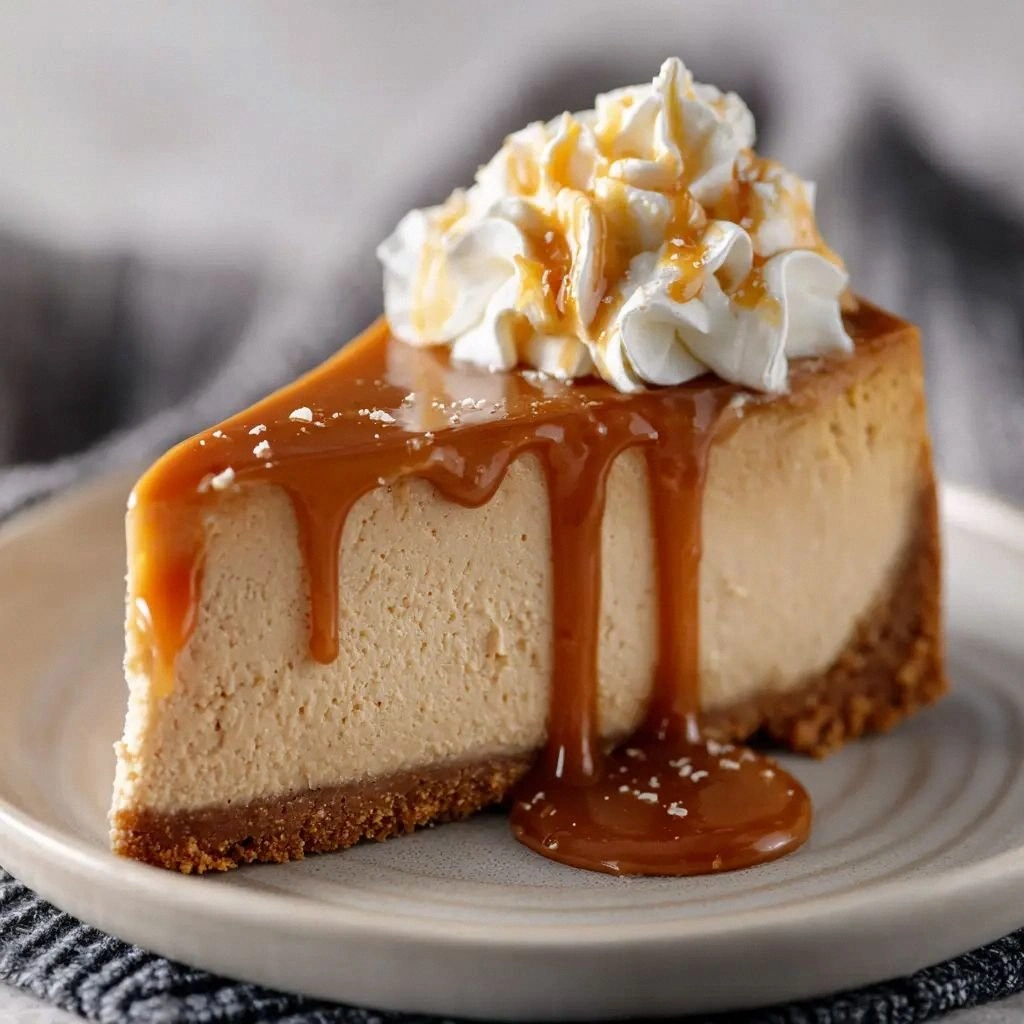
Salted Caramel Swirl
Drizzle a caramel sauce over the cooled cheesecake and sprinkle sea salt on top. The sweet‑salty contrast elevates the flavor profile, making it a crowd‑pleaser. This simple addition can transform a classic into a showstopper.
Almond Butter Upgrade
Swap peanut butter for almond butter for a nutty, slightly sweeter taste. The almond butter also gives a smoother texture due to its lower oil content. This variation is great for those with peanut allergies or simply wanting a different flavor.
Berry Burst Finale
Top the cheesecake with fresh berries and a dusting of powdered sugar. The bright fruit adds a refreshing contrast to the rich filling. This final touch makes the dessert feel light and festive.
Storing and Bringing It Back to Life
Fridge Storage
Wrap the cheesecake tightly in plastic wrap and place it in an airtight container. Store it in the refrigerator for up to 5 days. The cheesecake will stay moist and flavorful. Avoid placing it on top of strong‑smelling foods.
Freezer Friendly
To freeze, wrap the cheesecake in plastic wrap and then in foil. Label with the date and freeze for up to 3 months. Thaw overnight in the refrigerator before serving. Freezing preserves the texture and taste when done correctly.
Best Reheating Method
Reheat a slice in the microwave for 15–20 seconds, or warm the whole cheesecake in a 300°F oven for 10 minutes. Add a tiny splash of water before reheating to steam back to perfection. This technique restores the creamy texture without drying it out. Serve warm for a comforting experience.