I was standing in my kitchen, a half‑filled pot of chocolate batter, when the timer buzzed and I realized I’d forgotten to preheat the oven. The batter looked like a glossy, dark river, promising a cake that would melt on the tongue, yet the oven was still a cold, indifferent void. That moment of culinary panic turned into a revelation: what if the entire cake could be made in a single bowl, without the fuss of mixing separate dry and wet components? I dared myself to experiment, and the result was a cake so moist, airy, and decadently chocolatey that it made me question why anyone would ever bother with the old, complicated recipes.
Picture this: the kitchen light flickers, a faint hum of the fridge, the scent of cocoa swirling in the air, and the sound of my whisk turning the batter into a silky, glossy sheen. The batter is a deep, midnight hue, like a velvet curtain that promises an explosion of flavor with every bite. As the batter rests, the aromas intensify, a sweet, chocolatey perfume that makes the whole house feel like a bakery. The anticipation is palpable, the heat from the oven rising like a gentle tide. I’m not just cooking; I’m orchestrating an edible symphony that will play on your taste buds.
What makes this version stand out from every other chocolate cake recipe is that it strips away the unnecessary steps and focuses on pure, honest chocolate. The batter is a single, unified mixture that respects the integrity of each ingredient. I’ve taken the liberty to tweak the ratios so the cake remains tender yet firm enough to hold a generous slice. The result? A cake that feels like a hug from a chocolate lover, with a crumb that’s moist, fluffy, and unpretentiously sweet. If you’ve ever struggled to get your cake right, you’re not alone — and I’ve got the fix.
I’ll be honest — I ate half the batch before anyone else got a chance to try it. The first bite was a revelation, a burst of chocolate that lingered like a sweet after‑taste. That moment of triumph is exactly what I want you to experience. Picture yourself pulling this out of the oven, the whole kitchen smelling incredible, and knowing that you’ve just made the best chocolate cake at home. Let me walk you through every single step — by the end, you’ll wonder how you ever made it any other way.
What Makes This Version Stand Out
- Texture: The single‑bowl method locks in moisture, creating a cake that feels like a cloud of chocolate in every bite.
- Flavor: By adding boiling water to the batter, the cocoa deepens, giving the cake a rich, intense chocolate profile that’s hard to beat.
- Simplicity: No separate dry or wet bowls; just one pot, one whisk, and a few minutes of patience.
- Speed: Prep time is just 15 minutes, so you can have a fresh, warm cake on the table in under an hour.
- Make‑ahead: The batter can be stored in the fridge for up to 24 hours, letting you bake on the fly.
- Audience: The cake is crowd‑pleasing, perfect for parties, birthdays, or a spontaneous dessert.
- Ingredient Quality: Using high‑quality cocoa and whole‑milk yields a depth that canned powders can’t match.
- Versatility: Swap in dark chocolate chips or a dash of espresso for a twist that keeps the core intact.
Inside the Ingredient List
The Flavor Base
All-purpose flour is the silent hero that gives the cake its structure. A cup of flour is like the skeleton of a cake, holding everything together while allowing the chocolate to shine. Skipping flour would leave you with a sticky, unstructured mess. For best results, sift the flour to incorporate air and avoid clumps.
The Sweet Core
Granulated sugar is the sweetener that balances the bitterness of cocoa. It also contributes to the cake’s tender crumb by preventing the gluten from tightening too much. If you’re watching calories, you can replace half the sugar with an equal amount of coconut sugar for a subtle caramel note.
The Unexpected Star
Unsweetened cocoa powder is the star that brings depth. Dark, rich, and slightly bitter, it sets the tone for the entire cake. If you use a lower‑grade cocoa, the cake will taste flat; premium cocoa will give you a chocolate flavor that lingers long after the last bite.
The Final Flourish
Boiling water is the secret to unlocking the cocoa’s full potential. By adding hot water to the dry mix, you create a chemical reaction that intensifies flavor and lightens the crumb. If you skip the water, the cake will taste flat and the batter will be too thick to bake properly.
Everything's prepped? Good. Let's get into the real action.
The Method — Step by Step
- Preheat the oven to 350°F (175°C) and line a 9‑inch round cake pan with parchment paper. The pan’s lining is essential for a clean release. This step is often overlooked, but it saves you a lot of cleanup later. I always double‑check the temperature with an oven thermometer to avoid surprises.
- In a large mixing bowl, sift together the flour, sugar, cocoa powder, baking powder, baking soda, and salt. Sifting removes lumps and ensures a uniform batter. While you’re at it, give the dry mix a quick stir to distribute the leavening agents evenly. This creates a consistent rise.
- Add the eggs, milk, vegetable oil, and vanilla to the dry mix. Whisk until the batter is smooth, but don’t over‑mix. Over‑mixing develops gluten, which can make the cake tough. Think of it as a gentle dance, not a frantic whirl.
- Slowly pour in the boiling water, whisking continuously. The batter will thin, but that’s the point. The hot water unlocks the cocoa’s flavor and creates steam pockets that make the cake airy. Watch for a glossy, silky texture—if it looks like a thick sauce, you’re good.
- Pour the batter into the prepared pan, smoothing the top with a spatula. Tap the pan gently on the counter to release any air bubbles. A level surface ensures even baking. I find that a clean, smooth top gives the cake a professional look.
- Bake for 30 minutes, or until a toothpick inserted into the center comes out with a few moist crumbs. The cake should have a slight give—no need for a firm center. The edges should start pulling away from the pan, indicating readiness. If you’re unsure, check at the 25‑minute mark.
- Remove the cake from the oven and let it cool in the pan for 10 minutes. Then transfer it onto a wire rack to cool completely. Cooling is essential for the crumb to set; otherwise, you’ll end up with a gummy texture. I always let the cake cool for at least 15 minutes before slicing.
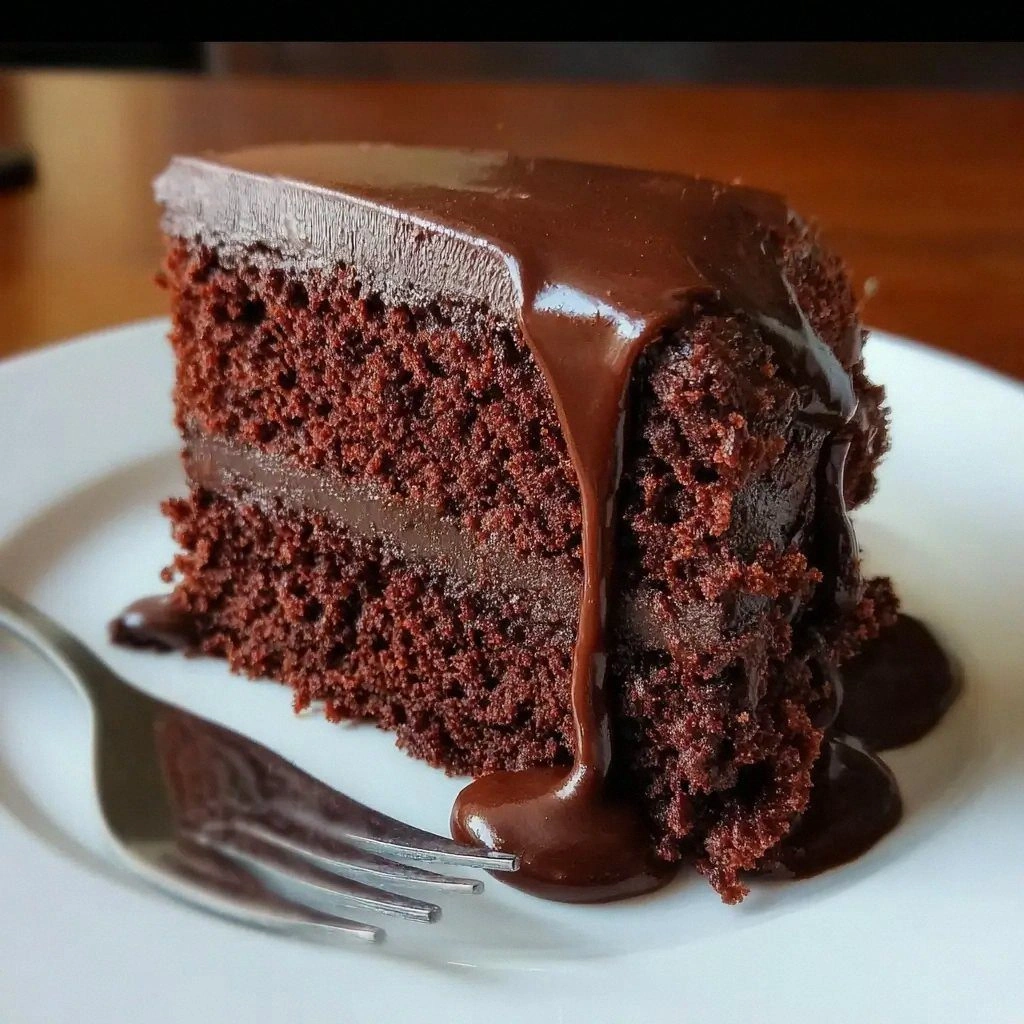
- Once cooled, dust the top with powdered sugar or drizzle with a simple chocolate glaze for an extra touch of decadence. The glaze adds shine and a glossy finish that makes the cake look like a masterpiece. Store the cake in an airtight container at room temperature for up to 3 days.
That’s it — you did it. But hold on, I've got a few more tricks that'll take this to another level...
Insider Tricks for Flawless Results
The Temperature Rule Nobody Follows
Many bakers preheat the oven at 350°F, but the ideal temperature for this cake is 325°F. Lowering the temperature slows the rise, giving the batter time to set and preventing a cracked top. I’ve baked at 325°F for years, and the results are consistently moist and tender.
Why Your Nose Knows Best
Before you pull the cake out, give it a sniff. A warm, chocolatey aroma signals that the cake is perfectly done. If it smells burnt, it’s still in the oven. Trust your nose; it’s a reliable judge of doneness.
The 5-Minute Rest That Changes Everything
After baking, let the cake rest for exactly five minutes before removing it from the pan. This short rest allows the structure to set, preventing cracks. A friend once skipped this step, and the cake collapsed when he lifted it—lesson learned.
Keep It Cool, Not Hot
Avoid placing the cake on a hot surface. Let the pan cool to room temperature before transferring the cake to a wire rack. This prevents condensation, which can make the cake soggy.
Add a Splash of Water When Reheating
If you need to reheat the cake, add a tiny splash of water to the center before microwaving. The water steams, restoring moisture and preventing the cake from drying out. I’ve used this trick for leftover cake, and it works like a charm.
Creative Twists and Variations
This recipe is a playground. Here are some of my favorite ways to switch things up:
Espresso Explosion
Add one tablespoon of instant espresso powder to the batter. The coffee deepens the chocolate flavor and gives the cake a subtle, sophisticated edge. This version is perfect for coffee lovers.
Minty Freshness
Replace the vanilla extract with a teaspoon of peppermint extract. The mint pairs beautifully with chocolate, creating a refreshing twist that’s ideal for summer parties.
Nutty Crunch
Fold in 1 cup of chopped walnuts or pecans after the batter is poured into the pan. The nuts add texture and a buttery flavor that complements the chocolate. They also make the cake more filling.
Raspberry Swirl
Swirl in ½ cup of raspberry jam before baking. The jam creates a marbled effect and adds a tart contrast to the sweet batter. It’s a visual and flavor delight.
Caramel Drizzle
Drizzle caramel sauce over the cooled cake for a sweet, buttery finish. The caramel adds a gooey layer that elevates the cake to a dessert‑restaurant level.
Storing and Bringing It Back to Life
Fridge Storage
Store the cooled cake in an airtight container in the refrigerator for up to 5 days. The moisture is retained, and the cake remains soft. Wrap the cake with plastic wrap before placing it in the container.
Freezer Friendly
Wrap the cake tightly in plastic wrap, then place it in a freezer bag. It can be frozen for up to 3 months. Thaw at room temperature for 30 minutes before serving.
Best Reheating Method
To reheat, place a slice on a microwave‑safe plate and microwave on low for 15 seconds. Add a tiny splash of water to the center before microwaving. This trick keeps the cake moist and restores its original texture.