Mastering Cake Decorating Tips: Essential Tips & Tricks
Every cake has a story to tell. As a passionate baker, I’ve found that making cakes is more than a skill. It’s a way to express creativity. This guide will help you create stunning cakes that impress everyone.
Cake decorating is a journey of imagination and precision. With the right tips and techniques, you can make amazing cakes. You’ll learn how to frost and decorate like a pro.
Mastering cake decoration starts with the basics. Each skill you learn lets you create desserts that are both tasty and beautiful. Get ready to turn your baking into edible art!
Table of Contents
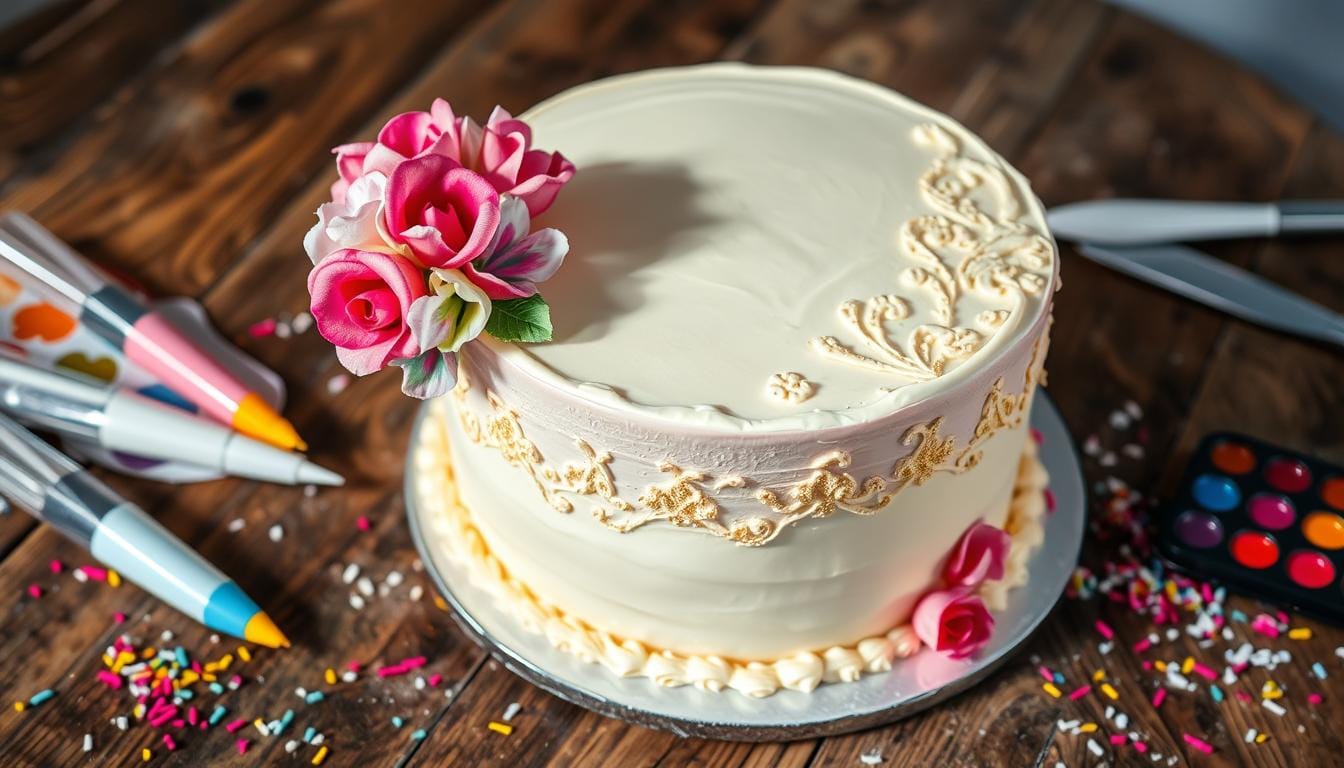
Understanding Essential Cake Decorating Tools
Starting your cake decorating journey means getting the right tools. Whether you’re new or want to improve, the right tools are key. They make baking and decorating easier.
Professional decorators know quality tools are essential. They make stunning cakes possible. Let’s look at the must-have tools for a great cake decorating experience.
Basic Piping Equipment
Piping tools are vital for stunning cake designs. Here are the basics for beginners:
- Silicone piping bags for versatile and reusable decorating
- Varied piping tips for different design techniques
- Coupler sets to easily change piping tips
Specialty Tools for Advanced Techniques
As you get better, you’ll need special tools. They help you improve your skills:
- Fondant smoothers for perfect finish
- Modeling tools for intricate details
- Acrylic disks for achieving sharp cake edges
Must-Have Measuring and Leveling Tools
Precision is crucial in cake decorating. Here are the tools you need:
| Tool | Price Range | Purpose |
|---|---|---|
| Cake Turntable | $13.99 – $60.00 | Rotating base for smooth frosting |
| Bench Scraper | $6.97 – $16.99 | Smoothing cake sides |
| Offset Spatula | $4.29 – $9.69 | Precise frosting application |
“The right tools can turn a good cake into an extraordinary masterpiece.” – Professional Baker
Pro tip: Look for sales at craft stores like Hobby Lobby, where you can find piping tips for less than $1 during 40% off promotions.
Preparing Your Cake for Decoration
Mastering cake decorating starts with the right cake preparation. Professional tips begin long before you use a piping bag. A stunning cake starts with its initial preparation.
- Cool your cake completely after baking
- Level the cake layers using a serrated knife
- Chill the cake for optimal handling
Cooling your cake is key for professional decorating tips. Warm cakes can collapse or tear during decoration. Experts say to cool cakes at room temperature for at least an hour before chilling.
“A well-prepared cake is the canvas for your decorating masterpiece.” – Professional Cake Decorator
Chilling your cake has many benefits for decorating. Refrigerating for 30 minutes makes layers firm and easier to handle. This prevents cracking and helps with intricate designs.
- Refrigerate cake layers for 20-30 minutes
- Use a cake leveler for precise cuts
- Brush layers with simple syrup for moisture
Professional bakers recommend working with semi-frozen cakes for better control. By following these steps, you’ll be set for decorating success.
Fundamental Cake Decorating Tips and Techniques
Starting your cake decorating journey means learning key techniques. These skills will turn your baking into stunning desserts. Easy decorating tips help beginners feel confident and skilled.
Learning the basics of cake decoration is crucial. It lays the groundwork for your skills. Tips for beginners can greatly improve your final cake.
Crumb Coating Essentials
A crumb coat is a secret to smooth cakes. It seals in crumbs and prepares the cake for decoration. Here’s how to do it:
- Apply a thin, even layer of frosting
- Chill the cake for about 2 hours
- Make sure the frosting is the right consistency
Mastering Frosting Consistency
Frosting consistency is key for your cake design. Different techniques need different frosting thickness:
| Consistency Type | Best Used For |
|---|---|
| Stiff Consistency | Piped flowers, intricate designs |
| Medium Consistency | Filling, basic frosting |
| Thin Consistency | Drip effects, smooth coating |
Basic Piping Techniques
Piping is an art that needs practice and the right tools. Choose your tips wisely:
- Round tips #2 and #3 for writing and details
- Star tips #14 and #18 for borders and rosettes
- Large tips like #5 for bold decorative elements
“The key to great cake decorating is patience and practice. Start simple and build your skills gradually.” – Professional Pastry Chef
These basic techniques will help you improve your cake decorating. You’ll make beautiful, professional-looking desserts.
Mastering Different Types of Frosting
Understanding different frosting types can take your cake decorating skills to the next level. Each frosting has its own special qualities that turn a simple cake into a beautiful work of art.
Knowing your frosting options is the first step in professional cake decorating. Let’s look at the most popular frosting types:
- Buttercream Frosting: The most common frosting in bakeries
- Swiss Meringue Buttercream: Mild, buttery, with a beautiful white color
- Italian Meringue Buttercream: Extremely stable for outdoor events
- French Buttercream: Rich, custard-like flavor
- German Buttercream: Creamy with an ice cream-like texture
Each frosting needs its own special techniques for the best results. Your choice depends on the event, the weather, and the taste you want.
| Frosting Type | Flavor Profile | Best Used For |
|---|---|---|
| Buttercream | Very Sweet | Indoor Parties |
| Swiss Meringue | Mild Buttery | Wedding Cakes |
| Italian Meringue | Light | Outdoor Events |
“Mastering frosting is the key to transforming a simple cake into a true work of art.” – Professional Baker
Remember, practice is key when trying out these cake decorating tips. Try different frostings to find your own unique style!
Professional Cake Stacking and Support Methods
Making stunning multi-tiered cakes is more than just being artistic. It’s about building a strong structure and using the right support techniques. To stack cakes well, you need to know about weight balance, the right support materials, and how to put it all together.
Before you start stacking cakes, there are key strategies to keep them stable and prevent them from falling apart.
Doweling Techniques for Structural Support
Dowels are the key to a cake’s stability, making them essential for multi-tiered designs. Here are some tips from the pros:
- Use food-safe wooden or plastic dowels
- Choose dowel thickness based on cake weight
- Insert dowels vertically and evenly across each tier
- Cut dowels precisely to match cake height
Selecting the Right Cake Boards
Picking the right cake boards is vital for stability. Experts suggest choosing boards that are:
- Slightly smaller than cake tiers
- Made from sturdy materials
- Capable of supporting specific cake weights
Weight Distribution Strategies
Getting the weight right is key to avoiding collapse and achieving a professional look. Important methods include:
- Centering each tier precisely
- Using the right number of support dowels
- Chilling cakes for 30 minutes before stacking
“Mastering cake stacking is an art that combines technical skill with creative vision.” – Professional Baker
By following these professional tips, you’ll make stunning, stable multi-tiered cakes. They’ll wow your clients and guests.
Advanced Piping and Design Techniques
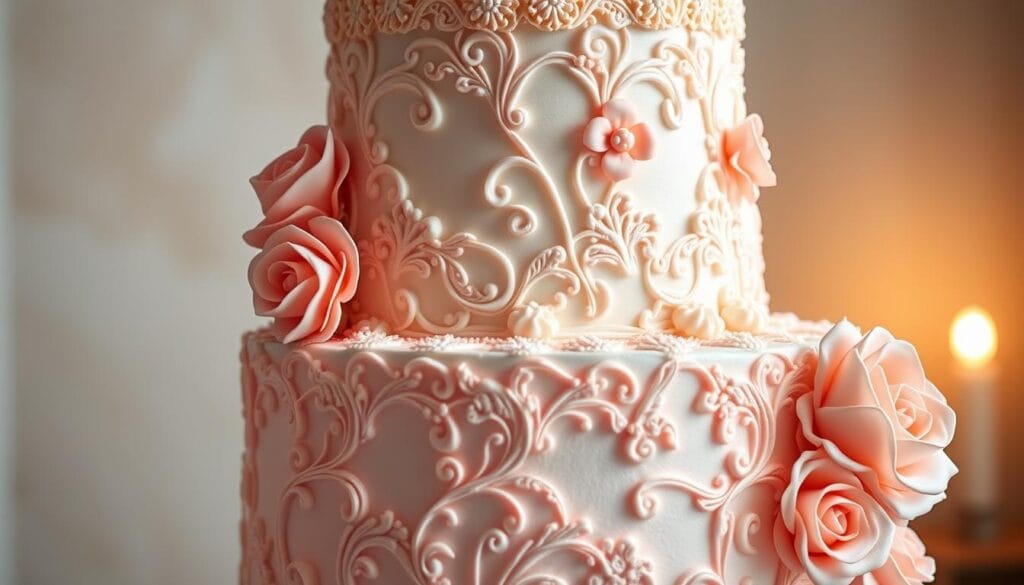
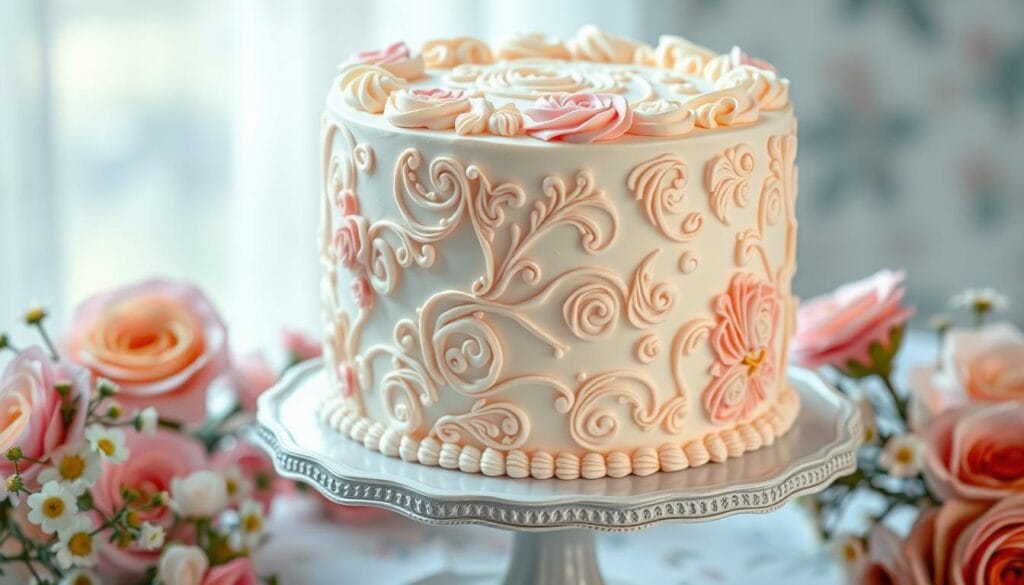
Take your cake decorating to the next level with advanced piping techniques. These methods turn simple cakes into stunning works of art. To master these skills, you need precision, creativity, and lots of practice.

Experts say that getting better at cake decorating comes from using the right pressure and smooth movements. Knowing how to use different piping tips is also key to creating amazing designs.
- Master complex flower piping techniques
- Create delicate lace patterns
- Develop three-dimensional decorative elements
- Experiment with texture and depth
Techniques like brush embroidery and stringwork can make your cakes truly stand out. Precision is paramount in advanced cake decorating tutorials.
| Technique | Difficulty Level | Tools Required |
|---|---|---|
| Royal Icing Stringwork | Advanced | Fine piping tips, steady hand |
| 3D Flower Piping | Expert | Petal tips, rose nozzles |
| Brush Embroidery | Intermediate | Soft brushes, gel colors |
“Success in cake decorating comes from patience, practice, and passionate creativity.” – Professional Pastry Chef
Keep in mind that mastering advanced cake decorating takes time and effort. Spend time practicing each technique. Try out different tools and don’t be afraid to try new things.
Working with Different Decorating Mediums
Exploring different decorating mediums can take your cake decorating skills to the next level. Each medium offers unique chances to create stunning cake designs. These designs will impress your guests and let your creativity shine.
Fondant Applications: Smooth and Flawless
Fondant is a smooth canvas for cake decorating ideas that need precision and elegance. Here are some key tips for working with fondant:
- Knead fondant until it becomes soft and pliable
- Roll out evenly to prevent thickness variations
- Use cornstarch to prevent sticking
- Smooth out air bubbles carefully
Ganache Techniques: Rich and Luxurious
Ganache gives your cakes a luxurious finish. Professional bakers love ganache for its versatility and glossy appearance. Here are some techniques to try:
- Creating mirror-like finishes
- Achieving sharp edges
- Using different chocolate ratios for varying consistencies
Royal Icing Methods: Delicate and Intricate
Royal icing is great for intricate cake decorating details. Its ability to dry hard is perfect for delicate designs like lace patterns and intricate string work.
“Mastering royal icing is like painting with sugar – precision is key!” – Professional Pastry Chef
Practice these techniques to expand your cake decorating skills. Create professional-looking desserts that will amaze everyone.
Creating Stunning Cake Decorating Patterns
Dive into the world of cake decorating ideas where creativity knows no bounds. Your cake can transform from simple to spectacular with the right techniques and imagination. Cake decorating tutorials reveal exciting ways to make your desserts truly unforgettable.

Explore these exciting pattern techniques that will elevate your cake design skills:
- Ombré Effects: Gradually blend colors from light to dark for a stunning gradient look
- Marbling Techniques: Create swirling, fluid designs that resemble natural stone patterns
- Geometric Designs: Use precise lines and shapes for a modern, sophisticated appearance
Professional cake decorators recommend using stencils for consistent and intricate patterns. These tools help you achieve professional-looking designs with minimal effort. You can experiment with various textures using techniques like:
- Combing: Creating linear patterns with a specialized tool
- Stippling: Adding texture through small, delicate dots
- Ruffling: Generating soft, wavy surface designs
“Creativity in cake decorating is about pushing boundaries and expressing your unique artistic vision.”
Advanced cake decorating tutorials suggest incorporating unique elements like edible prints, hand-painting, or airbrushing. These techniques allow you to personalize your cake and make it a true work of art. Remember, practice makes perfect in the world of cake design!
Troubleshooting Common Cake Decorating Issues
Cake decorating can be tough, even for pros. Knowing how to fix common problems boosts your confidence. These tips and hacks will turn mistakes into beautiful desserts.
“Mistakes are proof that you are learning and growing in your cake decorating journey.”
Common Cake Decorating Challenges
- Air bubbles in fondant
- Cracking frosting surfaces
- Melting buttercream
- Color bleeding
Temperature and humidity are key in cake decorating. Professional bakers know that these factors can affect your design. When working with fondant or gum paste, understanding these is vital.
Quick Fix Strategies
- Use a smoothing tool to eliminate air bubbles
- Keep workspace cool and controlled
- Work with chilled cake layers
- Use cornstarch to prevent sticky surfaces
| Issue | Solution |
|---|---|
| Fondant Cracking | Add small amount of shortening |
| Buttercream Melting | Refrigerate between decoration stages |
| Color Bleeding | Use gel food coloring |
Remember, practice makes perfect in cake decorating. Every challenge you solve makes you better. With these tips, you’ll be ready for any decorating challenge.
Conclusion
Mastering cake decorating requires dedication and passion. Your skills will grow with practice, turning simple cakes into stunning works of art. It’s not just about technical skills but also about finding your unique creative vision.
Statistics show that 85% of professional pastry chefs see piping as a key skill. Techniques like shell border piping and rosette designs can take your skills to the next level. Try out different tips, from small round sizes like #000 to intricate petal tips such as #181 or #402.
Resources like the Wilton Sweet Studio and local baking academies can help improve your skills. Remember, every pro started as a beginner. Your style grows through learning, trying new techniques, and facing creative challenges in cake design.
Enjoy the journey of cake decorating. Each cake you make is a chance to show your artistic talent, share a story, and bring happiness to others with your delicious and beautiful creations.
FAQ
What basic tools do I need to start cake decorating?
How do I prevent crumbs from ruining my cake’s appearance?
What’s the best way to level a cake for even layers?
How can I achieve smooth buttercream frosting?
What’s the secret to perfect piping techniques?
How do I stack multiple cake tiers safely?
What’s the best way to work with fondant?
How can I prevent my buttercream from melting?
What’s the best way to transport a decorated cake?
How do I create different piping textures and designs?
Source Links
- Mastering the techniques and creativity behind beautiful cakes – https://www.coohom.com/article/the-art-of-cake-decorating
- Mastering the Art of Cake Decorating: Tips and Tricks — Taste Project – https://tasteproject.eu/mastering-the-art-of-cake-decorating-tips-and-tricks/
- My Favorite and Most Essential Cake Decorating Tools – Cake by Courtney – https://cakebycourtney.com/essential-cake-decorating-tools/
- Cake Decorating Essentials Every Beginner Baker Needs – https://sugarcovesweets.com/essentials-for-cake-decorating/
- When Should I start decorating my cake? – https://veenaazmanov.com/cake-decorating-timeline-decorate-cake/
- How to Decorate a Cake at Home: A Step-by-Step Guide – https://jackandbeyond.com/blogs/cake-resources/how-to-decorate-a-cake-at-home-a-step-by-step-guide?srsltid=AfmBOoo5Irqxfp10oTAzyhBgsdrJPRTE_7I-p9FdzackVHOWUDFAk9P-
- Cake Decorating Quick Start Guide for Beginners: Tools, Tips, and Techniques to Get You Started – Heaven My Cake – https://heavenmycake.com/cake-decorating-quick-start-guide-for-beginners-tools-tips-and-techniques-to-get-you-started/
- Basic Piping Techniques for Cake Decorating [Tutorial] – https://naomicakes.com/piping-techniques-for-cake-decorating-tutorial/
- 20 Cake Decorating Tips We Learned From TikTok – Tasting Table – https://www.tastingtable.com/1697007/cake-decorating-tips-tiktok/
- A Chef Shares 11 Types Of Piping Tips That You Need To Decorate Beautiful Cakes – Tasting Table – https://www.tastingtable.com/1715867/types-piping-tips-how-use-them-cake/
- 12 Types of Frosting: The Definitive Guide – https://www.webstaurantstore.com/article/541/types-of-frosting.html?srsltid=AfmBOoock0cwDTvqDPwf3nb3P9MTeU4sVQw0WsSxnRrBuplag9s0a6Gh
- The Art of Cake Stacking: Essential Tips for Beginners – https://kneadandfrost.com/2024/12/20/the-art-of-cake-stacking-essential-tips-for-beginners/
- Tips and Techniques for Cake Decorators – https://cakerhq.com/media/tips-and-techniques-for-cake-decorators
- The Ultimate Beginner’s Guide to Cake Decorating – https://www.thewonderforest.com/the-ultimate-beginners-guide-to-cake-decorating/
- Cake Decoration Class | ICE Recreational Classes – https://recreational.ice.edu/courses/c/625
- 32 Piping Techniques With Round Tips – https://pastryliving.com/piping-techniques-with-round-tips/
- Elevate Your Baking Game: Mastering Advanced Cake Decorating Techniques – https://www.bakingclassinchennai.com/blog/elevate-your-baking-game-mastering-advanced-cake-decorating-techniques/
- Piece of Cake: How to Decorate Your Pots Like a Pastry Chef – https://ceramicartsnetwork.org/daily/article/Piece-of-Cake-How-to-Decorate-Your-Pots-Like-a-Pastry-Chef
- My Cake Decorating Journey – https://medium.com/kitchen-tales/my-cake-decorating-journey-7a403f83b3a6
- 56 Easy Cake Decorating Ideas – https://www.tasteofhome.com/collection/easy-cake-decorating-ideas/?srsltid=AfmBOop-atswjxjF3wvi56cB3DAapBPMc6_S6gdaki92Z3LfHS-fgSGu
- EASY DECORATING: CREATIVE STENCIL TECHNIQUES FOR STUNNING CAKES – https://chefmaster.com/blogs/academy/cake-decorating-made-easy-creative-stencil-techniques-for-stunning-cakes?srsltid=AfmBOoqjiLyq1kSAOAYEHXoFWVIoaqOUd4IHKUafAvJSva1evg7pYl6H
- Easy Cake Decorating Ideas {Beginners} – https://cakewhiz.com/easy-cake-decorating-ideas-beginners/
- The 3 Biggest Challenges with Cake Decorations and How to Overcome The – https://bakingpleasures.com.au/blogs/news/the-3-biggest-challenges-with-cake-decorations-and-how-to-overcome-them?srsltid=AfmBOoqKYTFfB0iEzBVyrbAeswvH8TmQyVTFp12i1uGNP2ZpdKJab7QZ
- Top Cake Decorating Tips and Tricks Blog 101 – https://mccarthyacademy.com.au/cake-decorating-tips-and-tricks-blog/
- Piping Tips Chart Guide: A Comprehensive Guide for Cake Decorating – https://www.kowanii.com/blogs/news/piping-tips-chart-guide-a-comprehensive-guide-for-cake-decorating?srsltid=AfmBOoqIkbA80IKYt87rIruQBkNne2Cdv5U3y3vqgBW0hlxDLLvgASLX
- Cake Decorating Techniques: A Visual Guide to Artistry in Baking – https://medium.com/@bakeboost/cake-decorating-techniques-a-visual-guide-to-artistry-in-baking-109bbfa261a8

