Easy Homemade Sourdough Sandwich Bread Recipe
Standing in your kitchen, you smell the fresh bread. It brings back memories and comfort. Imagine cutting into soft, pillowy sourdough sandwich bread. Its tang and crisp crust make your meals special.
This homemade recipe lets you make amazing sourdough. Your family and friends will love it.
Table of Contents
Understanding Sourdough Sandwich Bread Basics
Sourdough bread is special and tasty, unlike regular store-bought loaves. It uses a sourdough starter for fermentation, not commercial yeast. This starter is a mix of wild yeast and good bacteria.
What Makes Sourdough Different from Regular Bread?
The sourdough process takes longer, sometimes hours or days. This time lets the starter break down flour’s starches and proteins. It makes the bread softer, easier to digest, and slightly tangy.
Benefits of Making Your Own Sourdough
- You can control what goes into your bread, making it healthier and with fewer additives.
- It might be better for your health because of how it’s made, which could help with gluten issues.
- The taste is unique and can’t be found in commercial yeast bread.
Essential Characteristics of Perfect Sandwich Bread
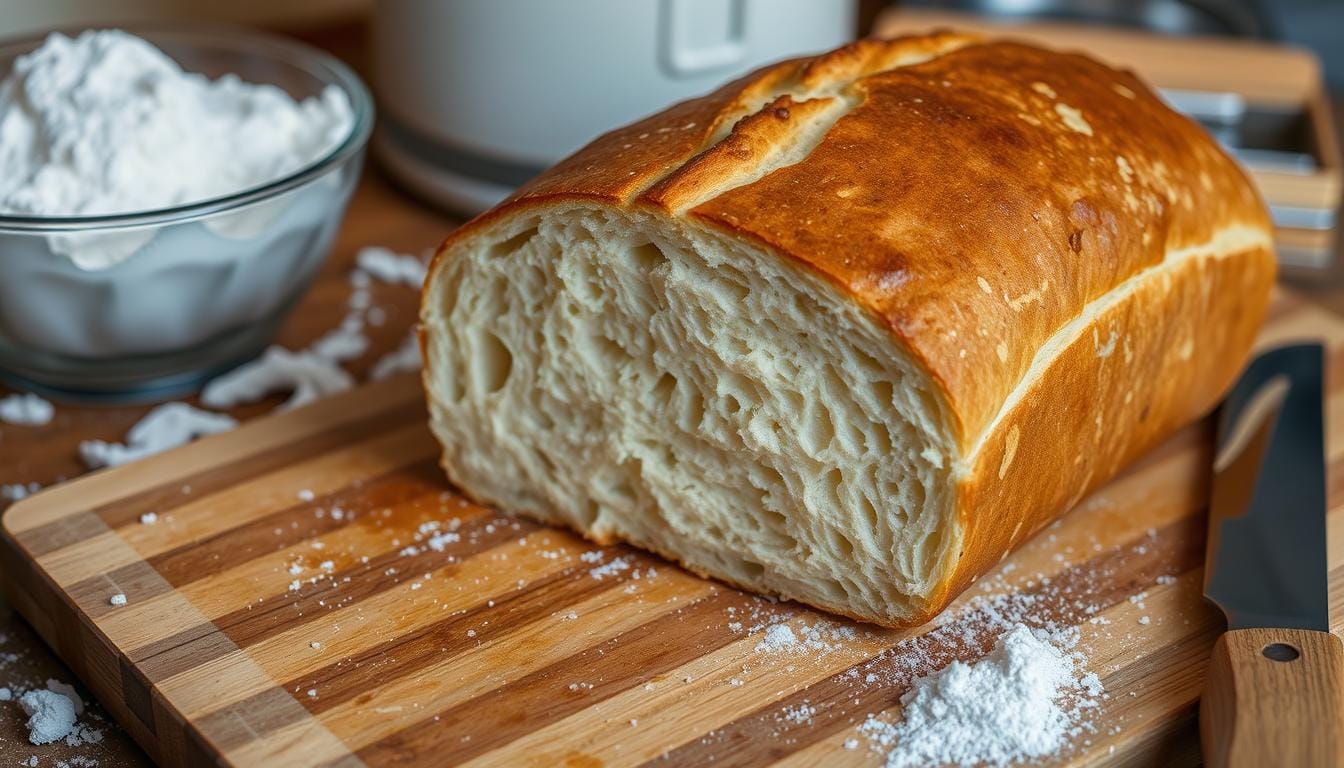
The best sourdough sandwich bread is soft and even inside. It should be a bit chewy. It also needs to keep its shape when sliced, so it doesn’t fall apart.
“Sourdough bread is a true labor of love, but the rewards are well worth the effort. The complex flavors and satisfying texture make it a real standout compared to regular bread.”
Required Ingredients and Equipment
Making the perfect homemade sourdough sandwich bread needs a few key things. First, you’ll need an active sourdough starter for its tangy flavor and rise. You’ll also need unbleached all-purpose flour or bread flour, warm water, a bit of olive oil and honey for taste, and a pinch of sea salt to balance it all.
You’ll need a strong 9″ x 5″ loaf pan to shape your dough into the classic sandwich bread shape. A stand mixer can make kneading easier, but a dough whisk or stiff spatula works too. A kitchen scale is key for accurate ingredient amounts, as the water-to-flour ratio affects the bread’s crumb and texture.
Tools like a Danish dough whisk, a metal bench scraper for shaping, and a beeswax wrap or kitchen towel for storing your loaf can help. With the right sourdough bread ingredients and bread-making tools, you’re ready to make a memorable homemade sourdough sandwich bread.
“Artisan bread-making is a labor of love, but the end result is so worth it. The aroma, the texture, the flavor – it’s an experience that can’t be replicated with store-bought loaves.”
Preparing Your Active Sourdough Starter
To make the perfect sourdough sandwich bread, start with a healthy starter. This starter is what gives your bread its tangy taste and chewy texture. Here’s how to keep and feed your starter for the best results.
Feeding Schedule for Optimal Results
Feed your sourdough starter about 12 hours before you mix the dough. Use a 1:4:4 ratio of starter:water:flour for a slow rise. For a quicker rise, try a 1:1:1 ratio. Always use the same amount of water and flour when feeding.
Signs of a Healthy, Active Starter
- Your starter should double in size in 4-8 hours after feeding.
- It should look bubbly and frothy with a sour smell.
- When you scoop it, it should feel airy and light, not dense.
If your starter isn’t active, try changing the feeding ratio or the kitchen temperature. A lively starter is crucial for a great rise and texture in your bread.
Mixing and Kneading the Sourdough Sandwich Bread
Making the perfect sourdough sandwich bread begins with the right mixing and kneading. Start by mixing water, active sourdough starter, honey, bread flour, and kosher salt in a stand mixer or a big bowl.
Once mixed, let the dough rest for 1 hour. This time helps the flour soak up the liquid, making kneading easier. After resting, knead the dough for 8-10 minutes. Use a stand mixer on low speed or knead by hand until it’s shiny and soft.
- Add soft butter to the dough, a tablespoon at a time. Make sure each piece is fully mixed before adding more.
- Knead the dough for another 10 minutes to strengthen the gluten.
- Do stretch and folds every 20-30 minutes for 4 sets. This boosts the gluten even more.
By using these sourdough bread mixing techniques and kneading methods, you’ll get a dough ready for fermentation. This will result in a beautiful, soft, and tasty sourdough sandwich bread.

Mastering the Bulk Fermentation Process
The bulk fermentation stage is key to making your sourdough sandwich bread perfect. It’s when the dough ferments slowly, creating its unique taste and texture. Knowing about temperature, timing, and visual signs is crucial for mastering this step.
Temperature and Timing Considerations
This stage usually lasts 10-12 hours at 68-72°F (20-22°C). Warmer temperatures make it faster, while cooler ones slow it down. Watch your dough closely, adjusting time based on your kitchen’s temperature and humidity.
Visual Cues for Perfect Fermentation
Look for a dough that has doubled in size and looks relaxed and puffy. As it ferments, it will become easier to stretch and less stiff. These signs show your dough is ready for the next steps in the bulk rise process.
| Dough Characteristics | Fermentation Stage |
|---|---|
| Doubled in size, relaxed and puffy | Perfect fermentation |
| Not yet doubled, still tight and firm | Underfermented |
| Collapsed, dense and shrunken | Overfermented |
By watching temperature, timing, and visual signs, you can get your sourdough sandwich bread just right. Mastering this step is the secret to a truly delicious homemade loaf.
“The art of sourdough baking lies in the patience and attention to detail during the fermentation process. It’s a dance between time, temperature, and observational cues that yields the most flavorful and textural results.”
Shaping Your Sourdough Sandwich Bread
Shaping your sourdough sandwich bread is key to a perfect loaf. The pan loaf method adds structure, making it soft and airy. Unlike free-form loaves, pan loaves don’t need scoring because the pan supports them during baking.
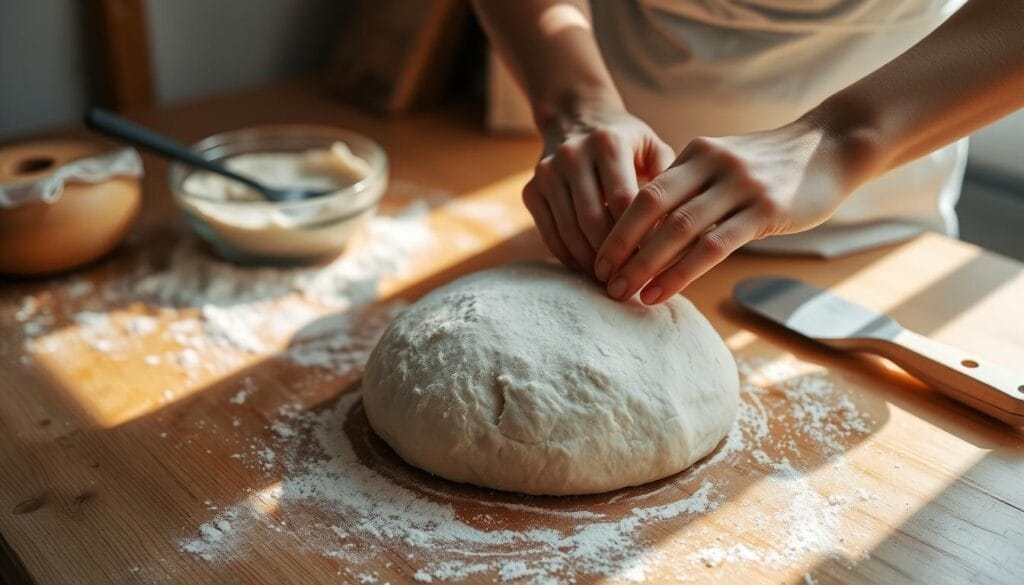
To shape your sourdough sandwich bread, start by turning the fermented dough onto a lightly floured surface. Press it into a rectangle and fold the sides to the center. Then, roll it into a tight log, pulling the dough towards you to create tension.
This tension helps develop the gluten and encourages a beautiful rise during the final proof. Place the shaped loaf, seam-side down, into a greased and parchment-lined 9″ x 5″ loaf pan. This size is ideal for a classic sandwich bread shape and size. For a taller loaf, use an 8.5″ x 4.5″ pan.

The pan loaf technique ensures a structured rise, reducing worries about the dough spreading. It’s great for recipes where you want a tall, uniform loaf. This is perfect for sandwiches, toast, and everyday enjoyment.
Remember, the secret to successful shaping is gentle handling and maintaining tension on the surface. With practice, you’ll master shaping sourdough sandwich loaves. Then, you can enjoy the delicious results of your homemade sourdough bread shaping efforts.
Second Rise and Proofing Techniques
After shaping your sourdough sandwich bread, it’s time for the second rise. This step, called proofing, is key for a great crumb and crust. Most recipes need a proofing time of 1 1/2 to 3 hours at warm temperatures.
Signs of Proper Proofing
The dough should spring back when pressed gently. This shows it has risen enough. If it collapses, it’s over-proofed. If it’s dense, it’s under-proofed. Adjust the time based on temperature and dough behavior.
Troubleshooting Common Issues
If your dough is too sticky and spreads a lot, it’s overproofed. You might need to shorten the fermentation time. Warmer temperatures make dough rise faster, so proofing time is shorter.
Many things can change proofing times. These include the dough’s whole grain content, the amount of preferment, and the dough’s final temperature. Look for visual and textural signs like rise and passing the poke test to know when it’s ready.
Getting good at sourdough proofing takes time. But with these tips, you’ll make perfectly risen sourdough sandwich bread every time.
Baking Methods for Perfect Results
To get the perfect crust and crumb for your sourdough sandwich bread, you need the right baking techniques. Start by heating your oven to 450°F (232°C). This high heat will make the crust golden and beautiful.
After putting the loaf in the oven, lower the temperature to 375°F (190°C). This lets the inside bake evenly.
Creating steam in the oven is key for a soft, chewy crumb and a crisp crust. Mist the loaf with water or add ice cubes to the pan for steam. This makes the bread’s surface gelatinize, improving its texture and look.
Bake the loaf for 45 to 50 minutes. Watch it closely to avoid overbrowning. When the crust is golden, take the bread out of the oven.
Let it cool in the pan for 10 to 15 minutes. Then, move it to a wire rack to cool completely. This resting time helps the inside finish baking and the crust set. Your sourdough sandwich bread will be perfectly balanced between crisp and soft.
FAQ
What makes sourdough bread different from regular bread?
What are the benefits of making your own sourdough bread?
What are the essential characteristics of perfect sandwich bread?
What ingredients are needed to make this sourdough sandwich bread?
What equipment is required to make this sourdough sandwich bread?
How do I prepare an active sourdough starter for this recipe?
How do I properly ferment the sourdough bread dough?
How do I shape the sourdough loaf for the final proof?
How can I ensure proper proofing of the shaped sourdough loaf?
What baking methods will ensure perfect results for this sourdough sandwich bread?
Source Links
- Sourdough Sandwich Bread – https://countryroadssourdough.com/sourdough-sandwich-bread/
- Amazing Soft Sourdough Sandwich Bread – https://www.twelveonmain.com/amazing-soft-sourdough-sandwich-bread/
- Beginner Sourdough Sandwich Bread – Bread by the Hour – https://breadbythehour.com/beginner-sourdough-sandwich-bread/
- Basic All Purpose Sourdough Sandwich Bread – https://forum.breadtopia.com/t/basic-all-purpose-sourdough-sandwich-bread/36108
- Easy & Soft Sourdough Sandwich Bread – https://sourdoughbrandon.com/sourdough-sandwich-bread/
- Sourdough Sandwich Bread – https://thedinnerbell.recipes/sandwich-sourdough-bread/
- Sourdough Sandwich Bread – https://brodandtaylor.com/blogs/recipes/sourdough-sandwich-bread
- Soft Sourdough Sandwich Bread – https://littlespoonfarm.com/soft-sourdough-sandwich-bread-recipe/
- Same Day Sourdough Sandwich Bread – https://lilyscookingandhome.com/same-day-sourdough-sandwich-bread/
- Sourdough Sandwich Bread – https://wildthistlekitchen.com/sourdough-sandwich-bread/
- Simple Sourdough Sandwich Bread Recipe | Tylynn M – https://tylynnm.com/simple-sourdough-sandwich-bread-recipe/
- Sourdough Sandwich Bread With Fresh Milled Flour Made Easy – https://grainsinsmallplaces.net/sourdough-sandwich-bread/
- My Best Sourdough Recipe | The Perfect Loaf – https://www.theperfectloaf.com/best-sourdough-recipe/
- Aliquot Jar Method For Better Sourdough Bulk Fermentation – https://www.pantrymama.com/aliquot-jar-method-for-sourdough/
- Good Sourdough Bread (My Master Sourdough Recipe) | Grant Bakes – https://grantbakes.com/good-sourdough-bread/
- How to Shape a Pan Loaf (Sandwich Bread) | The Perfect Loaf – https://www.theperfectloaf.com/guides/shaping-a-pan-loaf/
- Soft Sourdough Sandwich Bread – Lion’s Bread – https://www.lionsbread.com/soft-sourdough-sandwich-bread/
- Sweet Sourdough Sandwich Bread — The BakeHouse – https://www.thebakehouse.org/recipes/sourdough-sandwich-bread
- The Ultimate Guide to Proofing Bread Dough | The Perfect Loaf – https://www.theperfectloaf.com/guides/proofing-bread-dough/
- Soft Sourdough Sandwich Bread for Beginners – https://www.thefedupfoodie.com/soft-sourdough-bread/
- How to Make Simple Sourdough Sandwich Bread (recipe) – https://meaghangrows.com/sourdough-sandwich-bread/?utm_source=rss&utm_medium=rss&utm_campaign=sourdough-sandwich-bread
- Tangzhong Sourdough Sandwich Bread | The Perfect Loaf – https://www.theperfectloaf.com/sourdough-sandwich-bread-with-pre-cooked-flour/
- Whole Wheat Sourdough Sandwich Bread | The Perfect Loaf – https://www.theperfectloaf.com/whole-wheat-sourdough-sandwich-bread/

